Installing a snus production line is a critical step for manufacturers aiming to produce high-quality nicotine pouches, snus, or similar small-dose products. This guide walks you through a complete, practical installation process for a snus packing line, from pre-installation planning to final commissioning and training. It is designed for plant engineers, production managers, and technical teams working with high-speed packing systems such as multi-lane snus machines, stick packers, and sachet lines. The instructions focus on safety, mechanical alignment, electrical integration, and process optimization to ensure your line runs reliably from day one.
Pre-Installation Checklist 🔧
Before any equipment arrives, prepare the installation site and project team. Confirm spatial layout, utilities, and resource allocation. Typical requirements include sufficient floor area, reinforced concrete slabs, adequate ceiling height for infeed hoppers and conveyors, and clear access for forklifts and service personnel.
Key items to confirm: utility supply plans (electrical, compressed air, vacuum), foundation load capacity, nearby waste/drain points, and a designated staging area for crate unpacking. Plan for at least one trained technician from the manufacturer to be on-site during commissioning.
Site & Utilities Preparation ⚡
Coordinate with facility maintenance to ensure the following utility specifications are available and verified: three-phase power with appropriate grounding, dedicated compressed air with oil-free filtration, vacuum systems for pouch handling when required, and stable network access for PLC/HMI connectivity. Label and lock out utility points to prevent accidental shutdowns.
Receiving & Inspection 🧰
When crates and pallets arrive, follow an unpacking checklist. Inspect for visible shipping damage, note serial numbers, and cross-check parts against packing lists. Store all fasteners, spare parts, and documentation in a secure area labeled with the machine serial number to simplify warranty and commissioning tasks.
Quick tip: Photograph all crates before opening and record any anomalies. This expedites insurance claims and manufacturer support if needed.
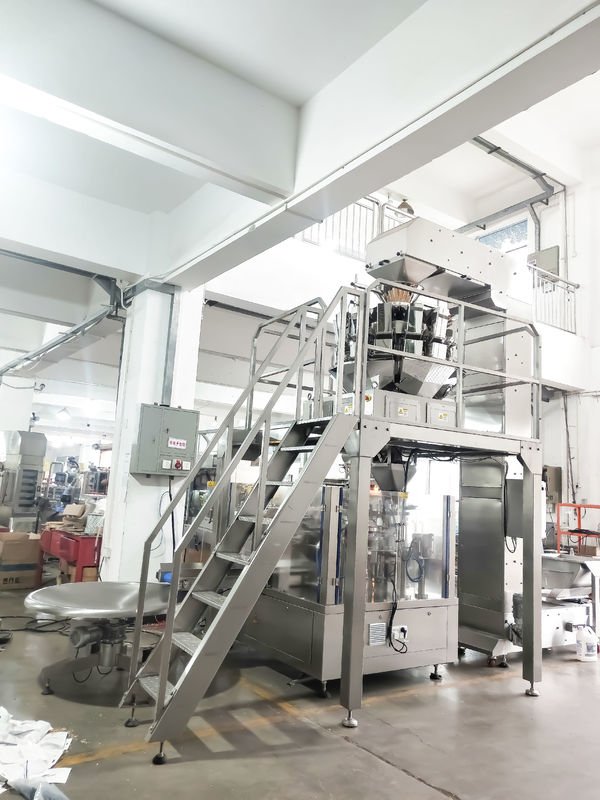
Mechanical Installation: Positioning & Foundation 🏗️
Position machines in the planned production flow with sufficient clearance for maintenance and operator access. Use leveling bolts and precision levels to set machine bases flat within the manufacturer’s tolerance. If the production line includes multiple modules (e.g., filler, pouch former, sealing, conveyor), align centers and heights before bolting down.
Fasten heavy modules to anchor points; lighter stands may be left adjustable for final alignment. Connect transfer conveyors and mechanical couplings only after the base machines are aligned. Check belt tensions, gear mesh, and chain lubrication following factory recommendations.
Safety Guards & Ergonomics 🛡️
Install all safety guards, interlocks, and access doors per the supplied drawings. Adjust guard heights so operators can perform routine tasks without removing protections. Place emergency stops at easy-to-reach locations on both sides of the line, and label them clearly.
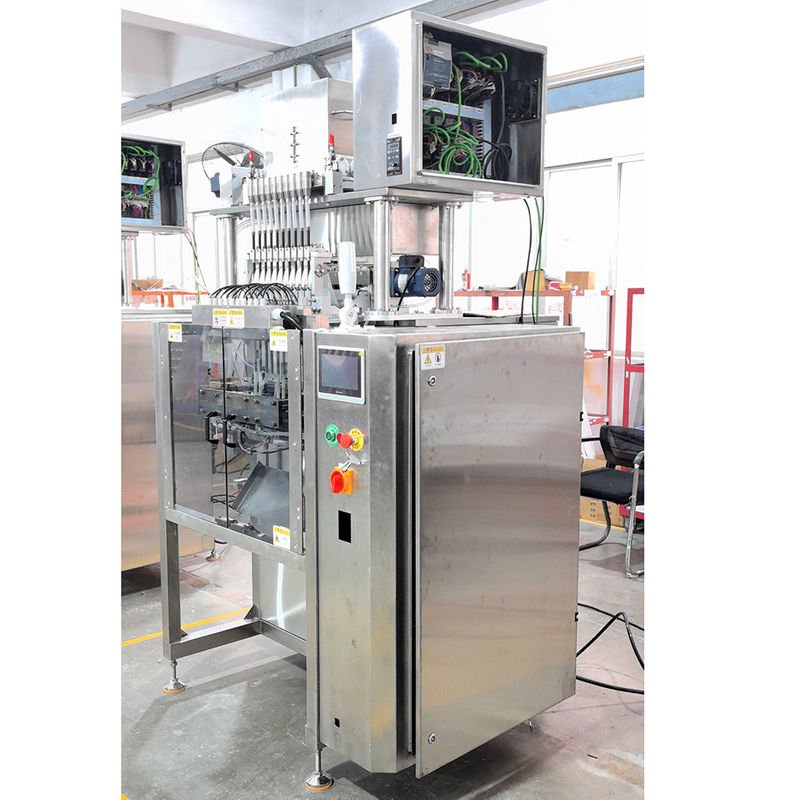
Electrical & Control System Integration ⚙️
Have a licensed electrician wire the main power to the machine control panel, observing voltage and phase requirements on the machine nameplate. Connect control signals, field wiring for sensors/actuators, and ensure proper grounding. Use shielded cables for encoder and communication lines to prevent interference.
Important: verify PLC I/O mapping before powering on. Incorrect I/O mapping is a common cause of commissioning delays.
HMI, Network & Data Connectivity 🌐
Configure HMI screens with operator languages and production recipes. If the line will be connected to a factory MES or remote support, set up IP addresses, VLANs, and secure access credentials. Confirm remote access procedures with the manufacturer’s service team to facilitate troubleshooting.
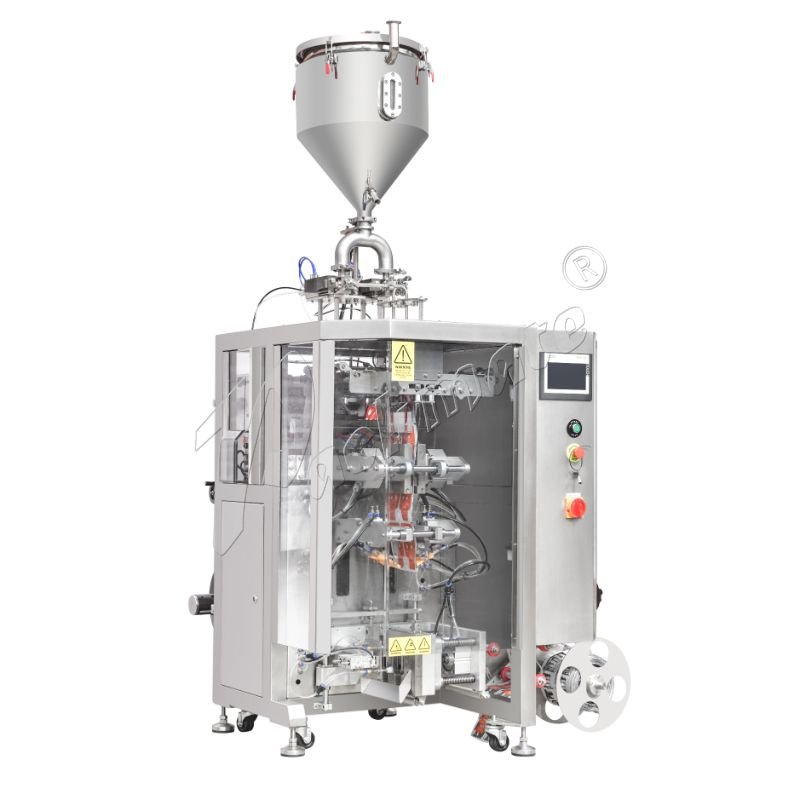
Pneumatics & Vacuum Systems 💨
Install compressed air lines with appropriate regulators, filters, and dryers. For machines using vacuum cups or vacuum conveyors, ensure vacuum pumps are sized correctly and that lines have proper condensate traps and silencers. Check for leaks using soap solution or ultrasonic detectors.
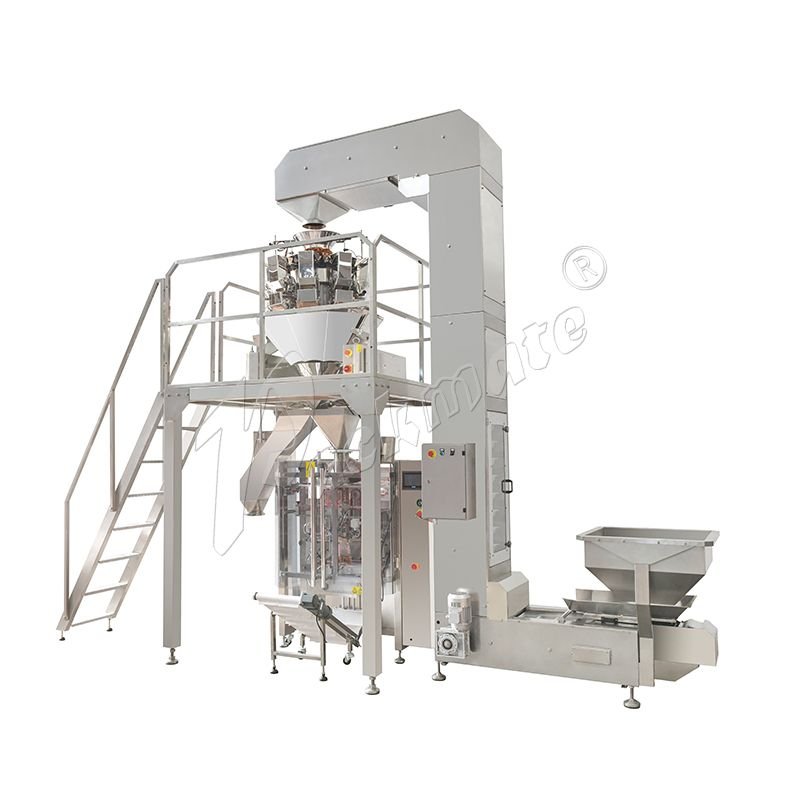
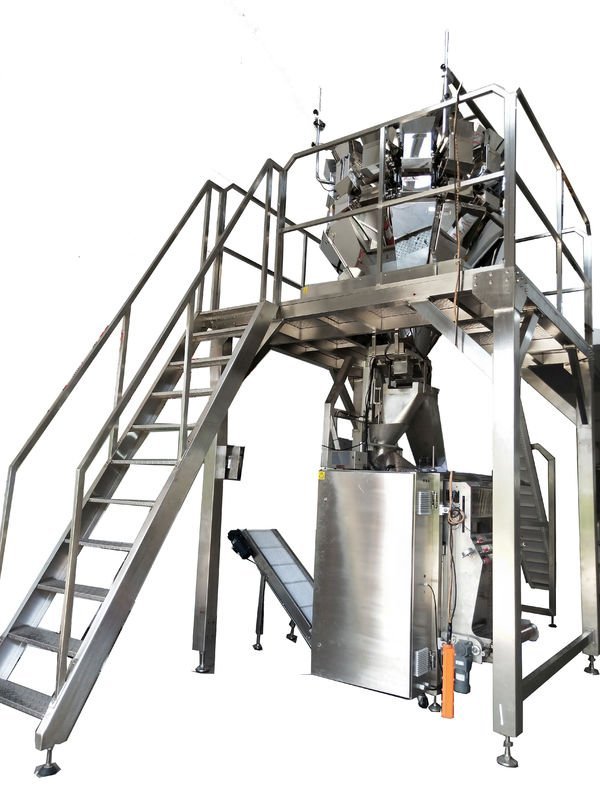
Material Feeding & Dosing Systems 🍃
Set up hoppers, augers, and dosing devices at the correct heights and angles to avoid bridging or segregation. Calibrate metering modules with representative product samples and record settings for future reference. For moisture-sensitive products, verify environmental controls to avoid humidity-related dosing variability.
Calibration note: start with conservative feed rates and gradually increase while monitoring weight and pouch fill uniformity.
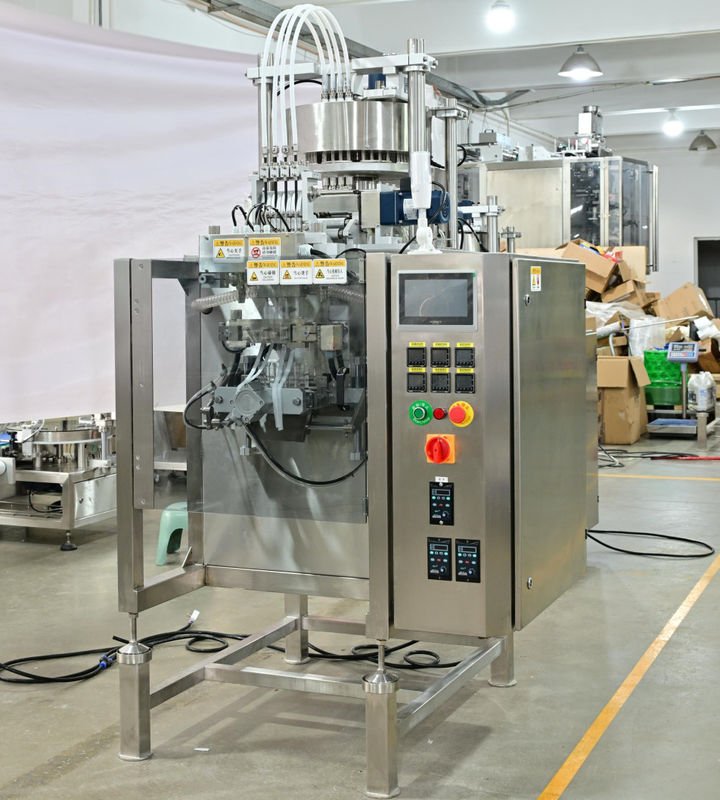
Line Alignment & Mechanical Synchronization 🔗
Mechanical synchronization across the line is essential for high-speed pouch formats. Verify encoder feedback, phase timing, and servo tuning. Use manufacturer-provided alignment jigs or reference marks to synchronize sealing jaws and forming tubes. At low speed, cycle the entire line and watch for timing drift or mechanical interference.
If your setup includes multi-lane components, carefully check lane-to-lane registration and fill distribution. Misaligned lanes cause faulty seals and rejects; correct these with fine adjustments to lane guides and forming plates.
Integration with Auxiliary Equipment ⚙️
Connect vision inspection systems, metal detectors, check weighers, labeling machines, and cartoners per the process flow. Ensure communication handshake protocols between devices (e.g., discrete I/O or industrial Ethernet) are configured to manage line stops, rejects, and batch handling.
Testing & Commissioning ✅
Carry out dry runs first (no product) to validate mechanical motion, cycles, and safety interlocks. Progress to wet runs or product trials using limited batches. Monitor cycle times, sealing quality, pouch dimensions, and fill weights. Record production metrics and defect rates.
Use statistical sampling to verify repeatability. Adjust servo profiles, dosing parameters, and temperature settings to reach acceptable tolerances. When acceptance criteria are met consistently, increase run time in steps to simulate continuous production and observe thermal stability and component wear.
Commissioning milestone: achieve 90% of target speed with acceptable quality for 2–4 consecutive hours before full acceptance.
Operator Training & Documentation 📘
Conduct structured training sessions for operators, maintenance staff, and supervisors. Training should include daily start-up/shutdown routines, cleaning and sanitation procedures, routine adjustments, and emergency protocols. Provide user manuals, electrical and pneumatic schematics, spare parts lists, and a digital logbook for maintenance records.
Ensure operators can perform first-line troubleshooting and basic repairs. Manufacturer-level technicians should handle advanced PLC programming changes, servo tuning, or major mechanical overhauls.
Maintenance & Spare Parts Strategy 🧩
Create a preventive maintenance schedule based on runtime hours and production cycles. Stock critical wear parts like belts, sealing jaws, bearings, and sensors. Maintain a minimal emergency spare kit on-site to reduce downtime caused by common failures.
Safety & Regulatory Compliance ⚖️
Validate that installations meet local electrical codes and machine safety regulations. For export or international customers, confirm CE and ISO conformance and keep certificates accessible. Ensure signage and PPE requirements are communicated to all staff.
Troubleshooting Common Issues 🔍
If you encounter frequent pouch sealing defects, check temperature consistency, skewed film paths, and worn sealing jaws. For fill weight inconsistencies, verify dosing calibration, hopper flow, and environmental factors. If the line experiences intermittent stops, review E-stops, safety interlocks, and network communication faults.
If in doubt: contact manufacturer support with error logs, photos of faults, and machine serial numbers. Remote diagnostics often resolve issues faster than on-site visits.
Final Acceptance & Handover 📦
Conduct a formal acceptance test covering performance, quality, and safety. Document measured KPIs such as throughput, yield, downtime, and product quality levels. After successful acceptance, sign handover documents and ensure all manuals, certificates, and spare parts are transferred to the client.
For turnkey solutions or additional modules, consider scheduling a post-installation review after 30–90 days of operation to fine-tune settings and optimize throughput.
Useful Resources & Manufacturer Links 🔗
For reference on machine families and spare parts, check Packmate’s product pages and services. Explore Snus & Nicotine Packaging Machines, Bag & Pouch Packaging Machines, and the company’s Service page to match documentation and parts with your model. If you need company background or to arrange an on-site visit, see About Packmate and Contact Us.
Links:
Snus & Nicotine Packaging Machines,
Bag & Pouch Packaging Machines,
Service,
About Packmate,
Contact Us.
Final checklist before production start 🟢
Confirm completed tasks: mechanical alignment verified, electrical wiring certified, pneumatics leak-free, HMI configured, operators trained, and spare parts stocked. Ensure documentation is filed, and a maintenance routine is scheduled. Only then schedule a continuous production run for final validation.
Common Questions (FAQs)
Q1: How long does a typical snus line installation take? — Installation time varies with scope; a single machine can take 2–5 days, while a full multi-module line and commissioning typically require 2–4 weeks including testing and operator training.
Q2: What utilities are essential? — Three-phase power, clean compressed air, vacuum (if required), and stable network access are essential. Confirm voltage and air quality specifications with the manufacturer before installation.
Q3: Can I perform commissioning remotely? — Remote commissioning can assist with software and PLC configuration, but on-site mechanical alignment and safety verification are usually required for final acceptance.
Q4: Where can I get spare parts and training? — Contact the manufacturer’s Service team or authorized distributors. Many suppliers, including Packmate, offer spare parts catalogs, training programs, and extended maintenance agreements.