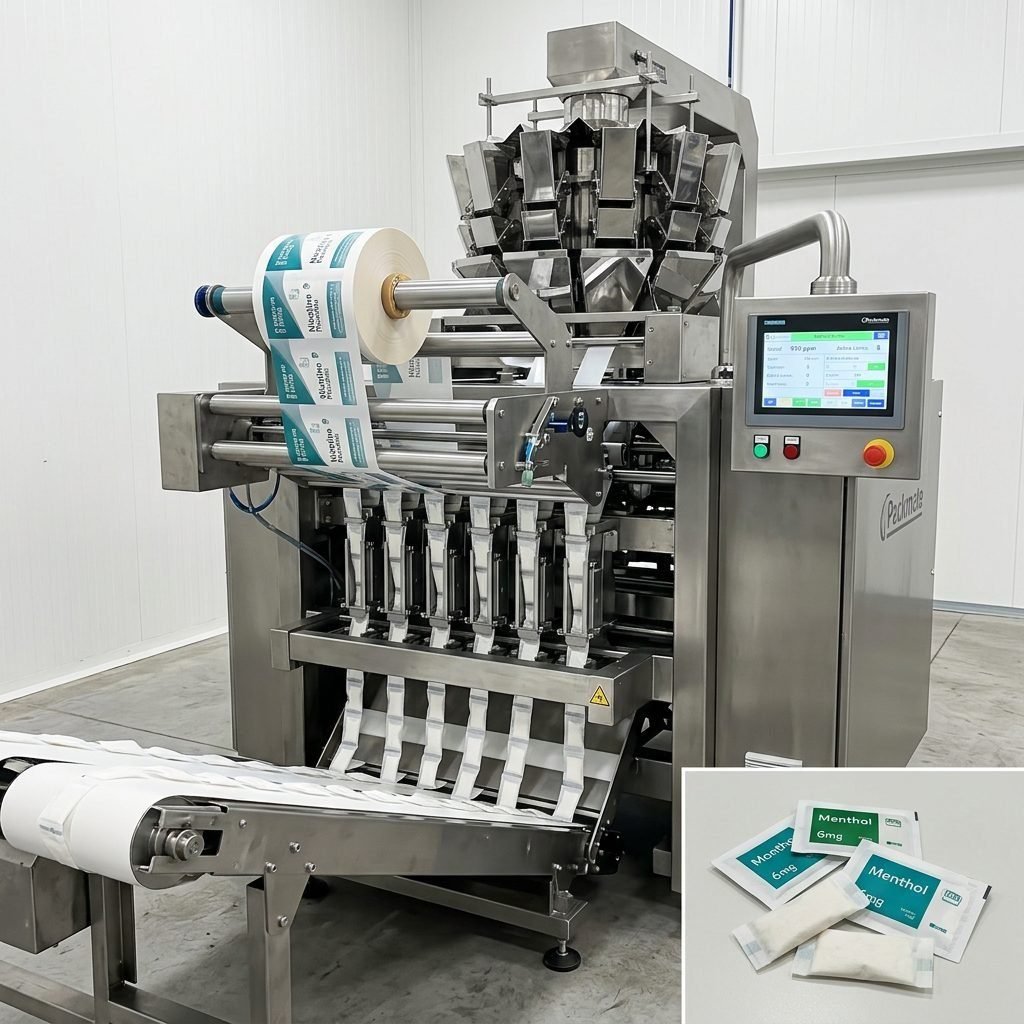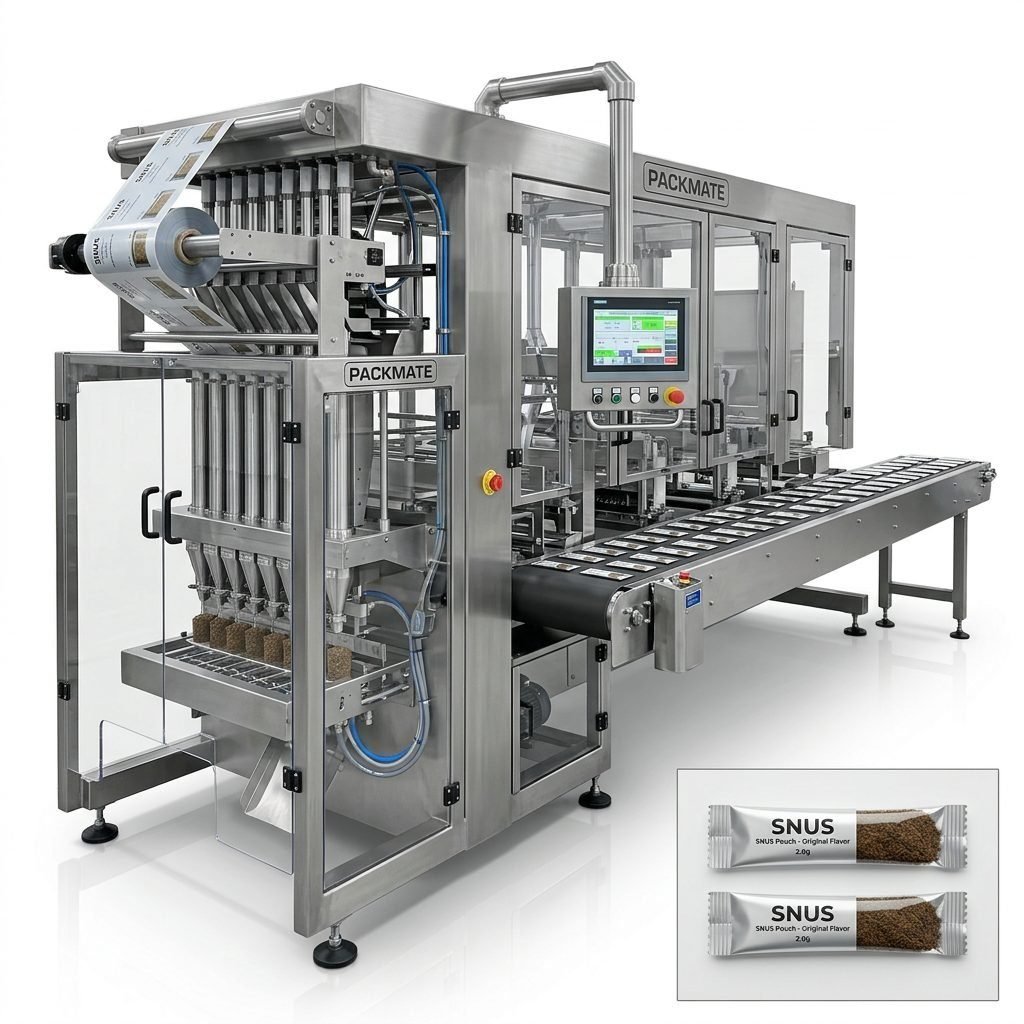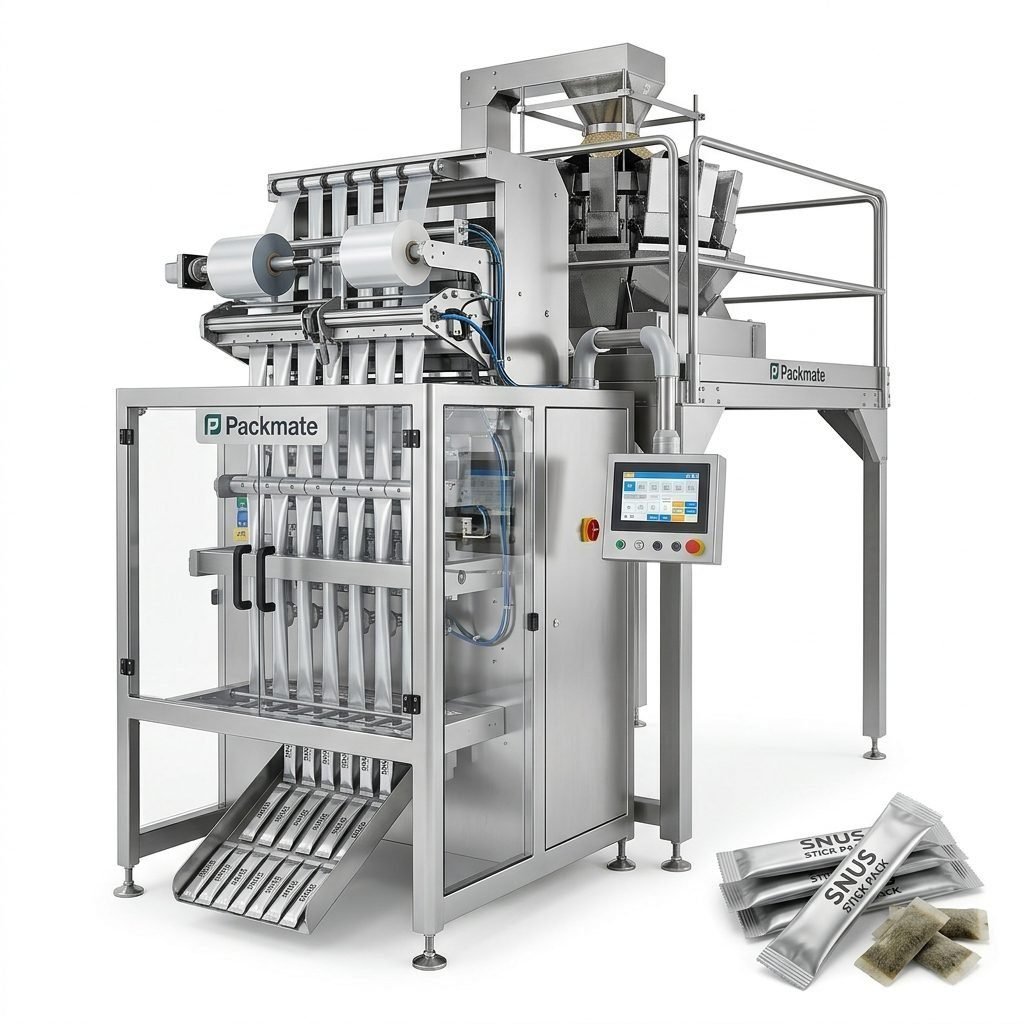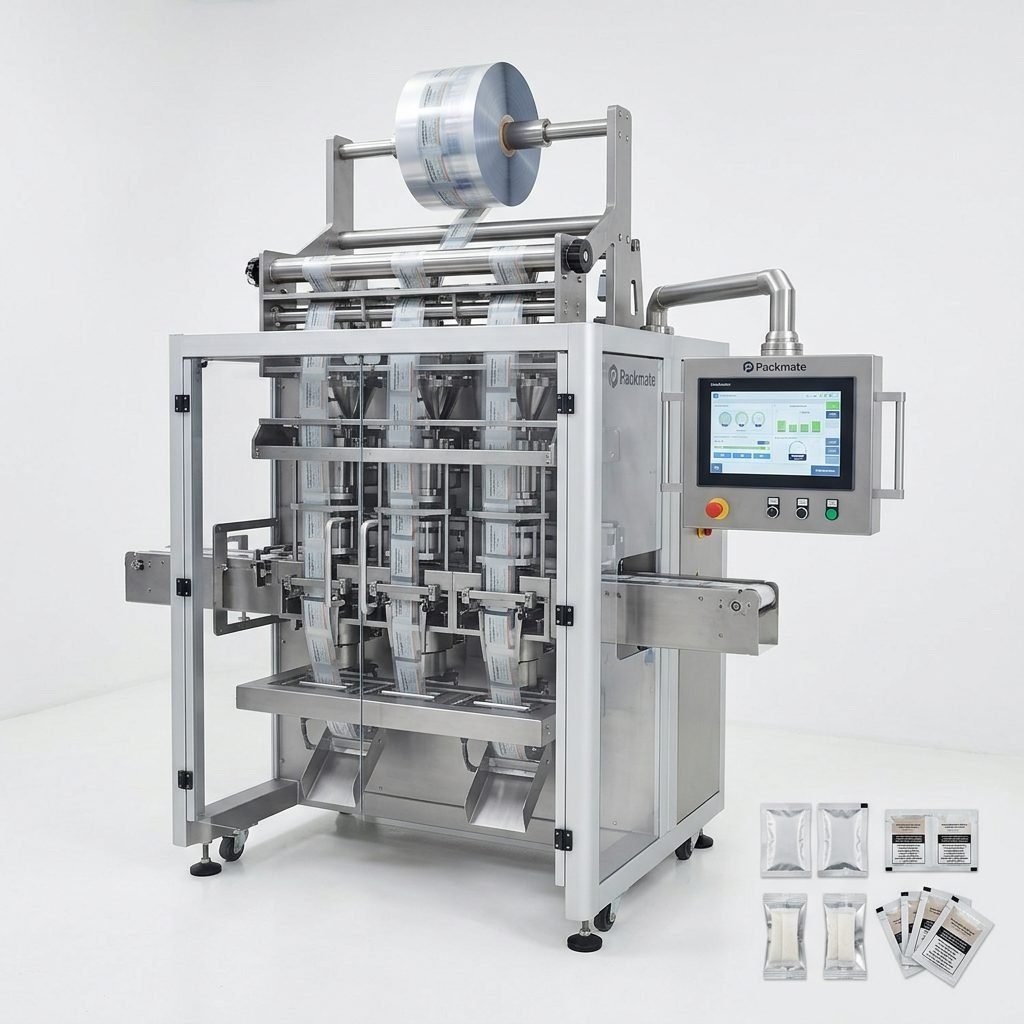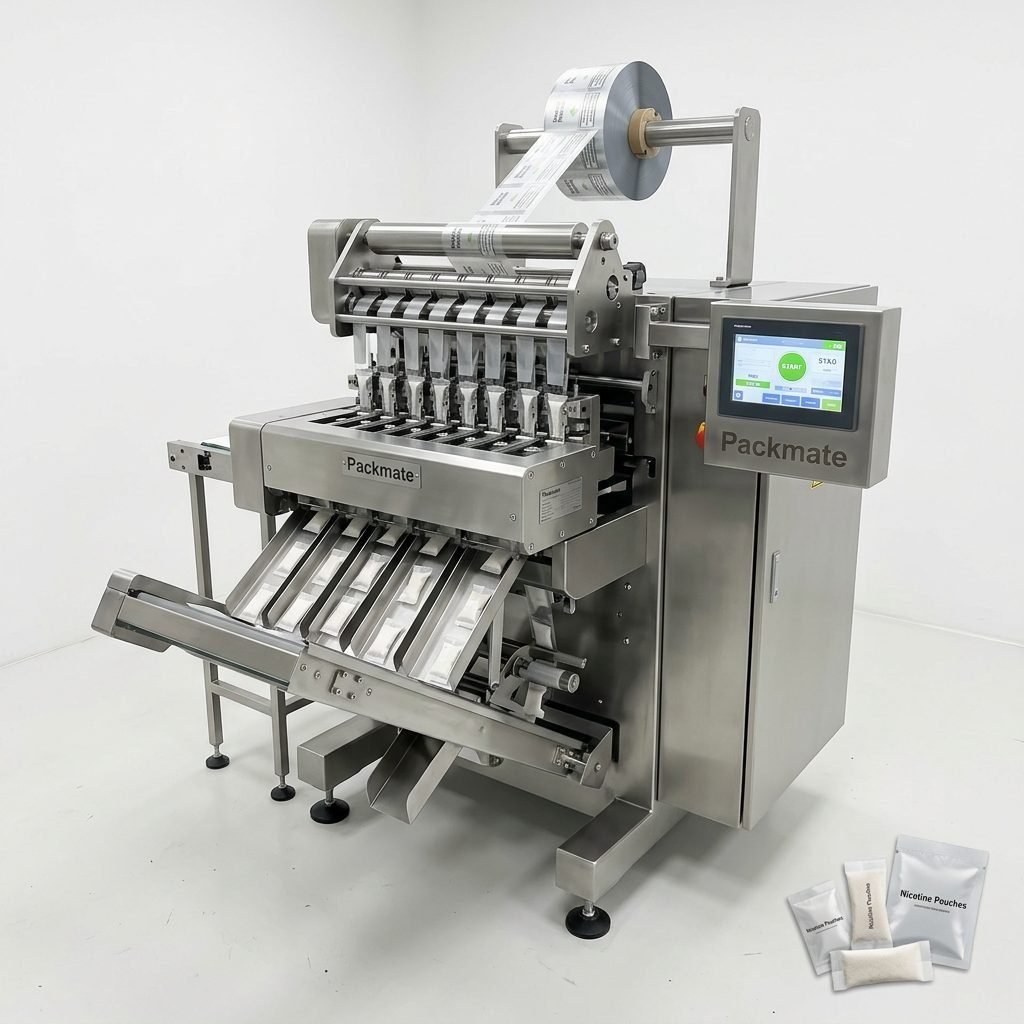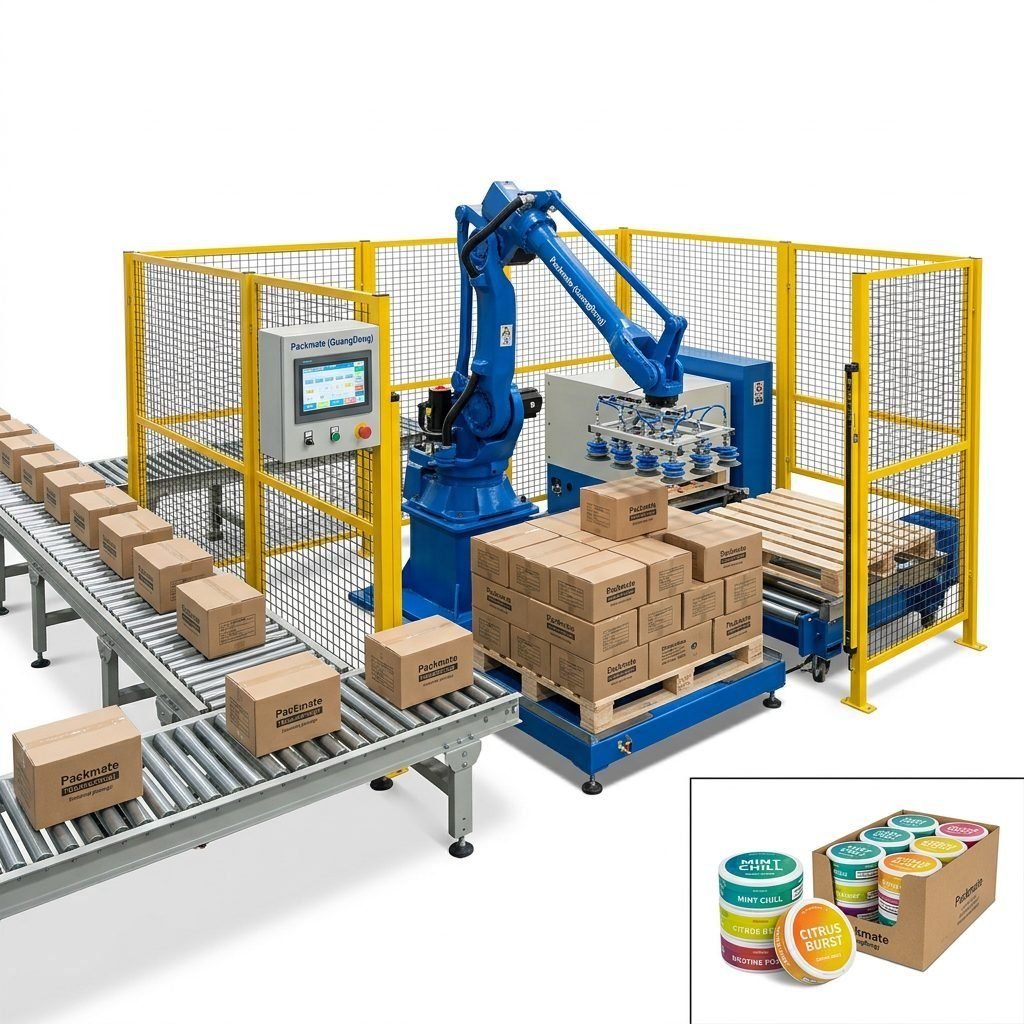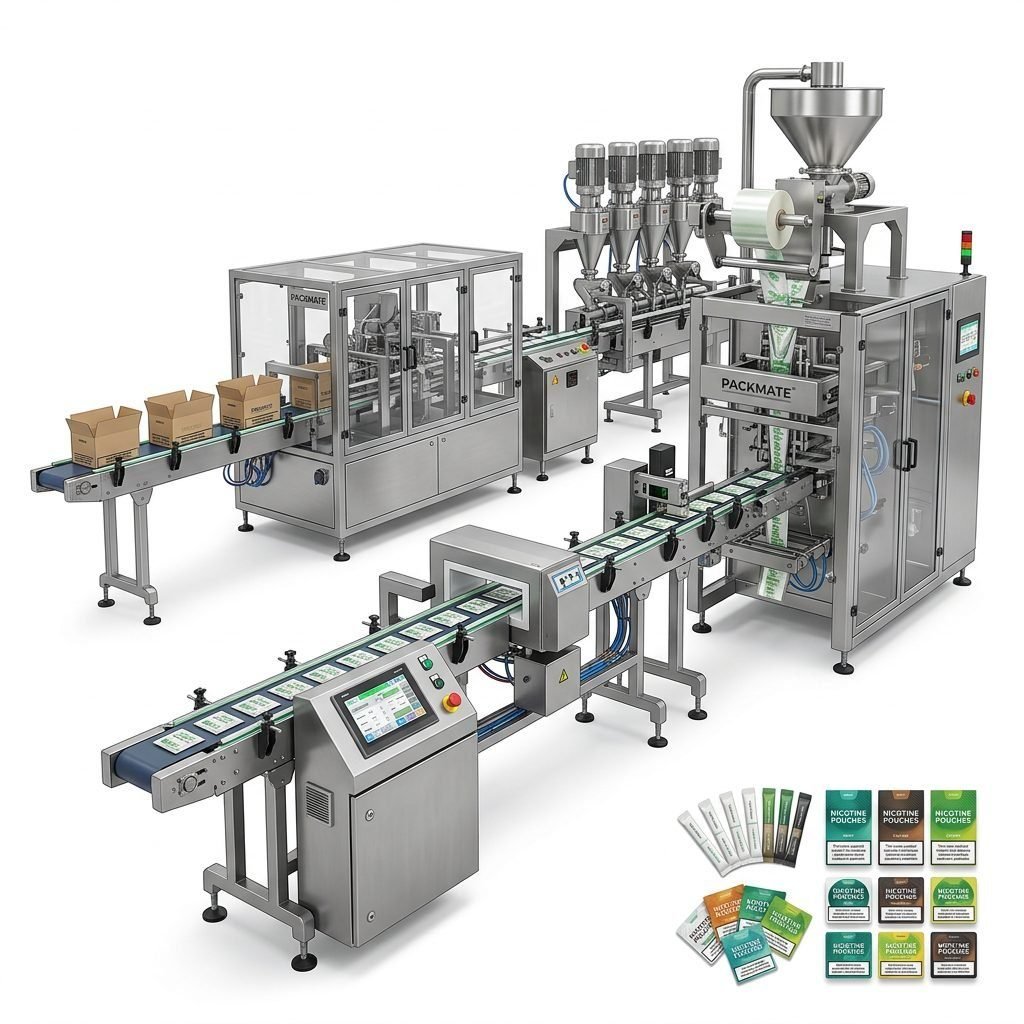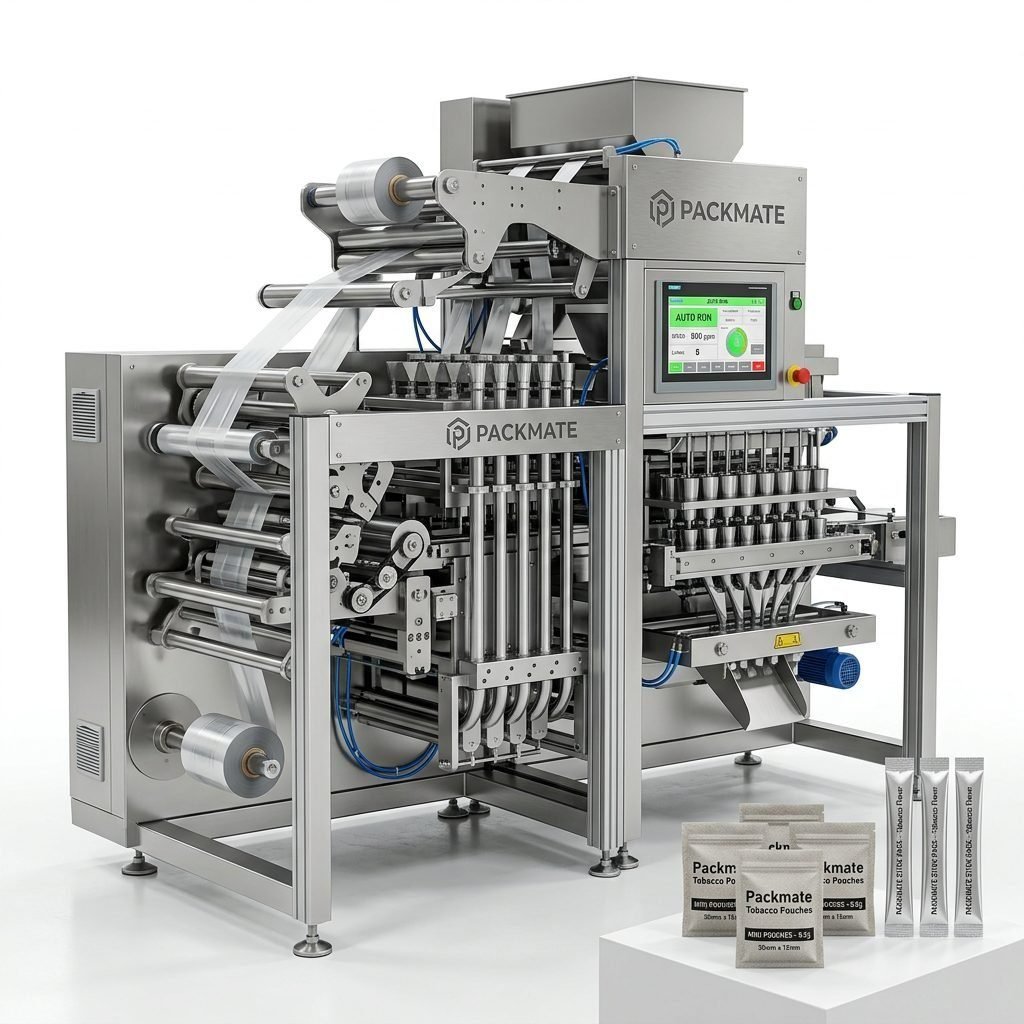
This installation and commissioning guide walks you through a complete, practical step-by-step setup for a snus pouch machine. It is designed for packaging engineers, production managers, and maintenance teams preparing to install high-speed snus, nicotine pouch, or small-dose pouch systems. The instructions combine mechanical positioning, utility hookups, basic electrical and pneumatic checks, calibration sequences, and production best practices to achieve a stable, high-yield run. Throughout the guide you will find clear, highlighted actions and safety reminders to help minimize downtime and accelerate your first production batches.
Pre-Installation Planning and Site Preparation
Before the machine arrives, prepare the site with accurate measurements, utilities, and laydown areas. Check the manufacturer’s packing list and layout drawing. Confirm floor load capacity, clearances for maintenance access, and overhead obstructions. A well-prepared site reduces on-site delays and avoids costly rework.
Key items to verify: power supply specifications, compressed air quality and pressure, dry and clean utilities, exhaust or ventilation (if required), dust control, and a level concrete pad or steel plate that meets recommended tolerances. Keep original packaging materials for a short period after commissioning for parts protection.
Utilities and Environmental Requirements
Most snus pouch machines require three-phase power, filtered compressed air, and stable ambient conditions. Typical requirements:
• Electrical: confirm voltage, phase, and dedicated grounding. Verify neutral and earth connections before energizing controls.
• Pneumatic: filtered, lubricated, and regulated air at recommended PSI. Install a dryer or coalescing filter if humidity is high.
• Environment: keep temperature and relative humidity within manufacturer recommendations to prevent sealing issues and powder humidity changes.
Unpacking, Positioning and Mechanical Setup
When the machine arrives, inspect shipping crates for damage. Unpack in a clean area and inventory spare parts, tools, and documentation. Position the machine using the layout drawing, with attention to infeed and outfeed conveyors, operator panels, and service access.
Use levelers and a precision level to achieve a flat base. Align infeed conveyors to upstream equipment to avoid product jams and minimize transfer points. Where bolting to the floor is required, torque anchor bolts according to the supplier’s specification.
✅ Important mechanical check: confirm all shipping locks, protective plates, and transport bolts are removed before running the motor. Failure to remove restraints can damage bearings and gearboxes.
Drive Systems and Alignment
Inspect gearmotors and servo drives visually, check coupling alignments, and hand-rotate shafts if possible to feel for binding. Tighten couplings and pulleys per the torque chart. For multi-lane systems, verify timing belts and cams are synchronized across lanes.
If your snus pouch machine is a multi-lane or high-speed model, alignment between lanes is critical for consistent sealing and accuracy. Use a dial indicator or laser alignment tool where available.
Electrical Hookup and Safety Checks
When connecting power, follow local electrical codes and the manufacturer’s wiring diagram. Lockout/tagout procedures should be in place before any wiring work. Connect the PLC and HMI wiring last, and ensure the main earth connection is secure and continuous to the machine frame.
Perform insulation and continuity tests on cables. Check fuses, circuit breakers, and emergency stops. Confirm safety interlocks operate by simulating door open conditions and verifying that the machine halts power to motion devices.
⚠️ Safety reminder: never bypass sensors or safety circuits for testing. Use the machine’s diagnostic or manual jog mode with guards closed where the supplier recommends.
Control System and HMI Setup
Power the control cabinet and allow the PLC to boot. Verify that the HMI loads and that machine parameters are accessible. Set communication parameters for servo drives, weighing systems, or external equipment. Load the correct recipe files for your pouch format and ensure operator credentials and permissions are configured.
If the machine integrates with upstream weighing, dosing, or filling equipment, confirm I/O mapping and interlock signals. For reference on compatible lines, consider reviewing the manufacturer’s product pages such as Snus & Nicotine Packaging Machines and Bag & Pouch Packaging Machines.
Pneumatic Connection and Leak Testing
Connect the air supply using recommended tubing and fittings. Use the recommended pressure regulator settings and install a water trap if needed. Slowly energize the pneumatic system and check for leaks using soapy water or a leak detector. Replace or tighten fittings as needed.
Confirm cylinder travel limits and speeds. For vacuum cups and suction systems used in pouch handling, test vacuum levels and pick-and-place reliability without product before full runs.
Sealing Jaws, Temperature Control and Heat Sealer Calibration
Sealing temperature is critical for snus pouches, particularly when working with laminated films or heat-sensitive ingredients. Use the recommended heater setpoints as a starting point and perform cross-checks with an external thermocouple or infrared gun where applicable.
Run test seals at different temperatures and dwell times until you achieve consistent hermetic seals without film deterioration. Check the longitudinal and transverse seals for full adhesion across the pouch width.
🔧 Tip: record the optimal temperature, pressure, and sealing time for each film type and pouch design in the machine recipe to speed future changeovers.
Film Unwind, Registration and Web Tracking
Correct film unwind tension and web tracking are essential for print registration and cut accuracy. Set up dancer rollers or tension arms as specified and align the film path through guide rollers, perforation stations, and registration sensors.
If your process uses printed film, perform a registration test by running a slow-speed web and checking the printed pattern against the cutting or forming station. Adjust encoder offsets and sensor thresholds accordingly.
Feeding Systems for Powder, Granules and Pouches
Whether you use auger fillers, vibratory feeders, or multi-head weighers, ensure dosing equipment is calibrated for target fill weights and flow characteristics. Check hoppers, agitators, and anti-bridging devices to maintain consistent dosing during production.
For nicotine pouch production, which often uses low volumes and fine powders, confirm dust control and clean-in-place considerations are implemented to maintain hygiene and operator safety.
For turnkey lines and weighing integrations, see examples at Weighing & Packaging Systems and Filling & Packaging Lines.
Initial No-Load Tests and Dry Runs
Conduct dry runs without product to verify motion sequences, timing, valve operations, and sensor logic. Use manual jog for slow verification, then step up to intermittent runs before continuous mode. Observe the machine at low speed for any unexpected vibrations, noises, or mis-synced components.
ℹ️ Checklist item: confirm all guards, light curtains, and safety mats return the expected E-stop or inhibit signals when activated.
Sensor Calibration and Error Thresholds
Calibrate photoeyes, proximity sensors, and force sensors. Set debounce timers and ignore windows to prevent false trips. Adjust error thresholds to match realistic process variations while still protecting product quality.
For multi-lane machines, implement lane-by-lane fault masking only where acceptable, to avoid shutting down the entire line for a single-lane issue while waiting for corrective action.
First Product Runs and Production Tuning
Load material and conduct low-speed production runs. Inspect each pouch for fill weight, seal integrity, proper cut, and overall appearance. Use weight checks and random sampling to verify fill accuracy.
Tune film tension, sealing temperature, and cutter timing progressively. After each adjustment, run several hundred pouches to confirm stability. Keep detailed run logs: parameters adjusted, observed issues, and resolution steps.
✅ Production tip: create a machine recipe per product (film type, pouch dimensions, fill weight, sealing profile) and save it in the HMI to reduce changeover times and human error.
Quality Control and Sampling Plan
Implement a QC sampling plan for the first shifts: visual checks, leak tests (if required), seal peel tests, and weight checks. Document results and tie them to specific machine settings to build a knowledge base for future runs.
Maintenance, Spare Parts and Operator Training
Create a preventative maintenance schedule based on manufacturer guidance. Include lubrication points, filter changes, belt and blade inspections, heater cartridge checks, and periodic encoder calibrations. Stock common wear parts such as sealing jaws, blades, belts, bearings, and fuses.
Train operators and technicians on safe operation, lockout/tagout, changeover procedures, and basic troubleshooting. Keep the machine manual, electrical diagrams, and spare parts list accessible at the line.
For additional support, manufacturer resources such as Service and About Packmate provide contact and documentation channels.
Common Commissioning Issues and Troubleshooting
• Web tracking issues: re-check guide rollers and registration sensor alignment.
• Seal voids: adjust temperature, pressure, and dwell; verify film specification.
• Inconsistent fill weights: check hopper agitation, dosing timing, and flingers.
• Electrical faults: review grounding, cable routing, and transient suppression on drives.
Document all faults and corrective actions in a commissioning log for traceability and continuous improvement.
🔍 Pro tip: perform a 4-hour stability run before sign-off. This validates upstream materials, operator routines, and machine reliability under realistic throughput.
Documentation and Handover
Deliver a commissioning dossier with as-built wiring diagrams, final machine recipes, calibration certificates, and maintenance plans. Conduct a formal handover and operator training session with sign-off on key competencies.
Final Acceptance and Performance Tests
A typical acceptance protocol includes throughput verification, quality sampling, uptime measurement, and demonstration of all safety functions. Agree acceptance criteria ahead of time to ensure a smooth sign-off process.
For case studies and examples of installed systems, you can review real deployments at Case.
📌 Quick summary: plan utilities and site layout early, remove shipping restraints, align drives and film path precisely, calibrate sealing and dosing carefully, and run extended stability tests prior to acceptance.
If you require spare parts, equipment documents or further project support, check the manufacturer’s catalogs and certifications at Catalog and Certificate.
Common Questions (FAQ)
Q1: What power and air specifications are typically required?
A1: Most machines need three-phase power (confirm voltage and frequency with manufacturer) and filtered compressed air with a reliable dryer. Always follow the electrical schematic from the supplier.
Q2: How long does commissioning usually take?
A2: Commissioning time depends on site readiness and integration complexity. Typical standalone installations can be commissioned within 3–7 days; turnkey integrations with weighing and upstream equipment may take longer.
Q3: What are the top causes of seal failures and how to fix them?
A3: Seal failures are usually caused by incorrect temperature, inadequate pressure, dirty sealing jaws, or incompatible film. Clean sealing surfaces, adjust sealing parameters, and verify film specifications.
Q4: How should operators be trained for fast changeovers?
A4: Use saved recipes, organize tools and spares at station, and train operators on a step-by-step changeover checklist that includes parameter loads, quick belt changes, and sealing jaw swaps.
Q5: What preventative maintenance items should be prioritized?
A5: Prioritize lubrication, filter and heater checks, blade inspections, belt tension, and encoder calibrations. Keep a small stock of consumables and wear parts for fast replacement.