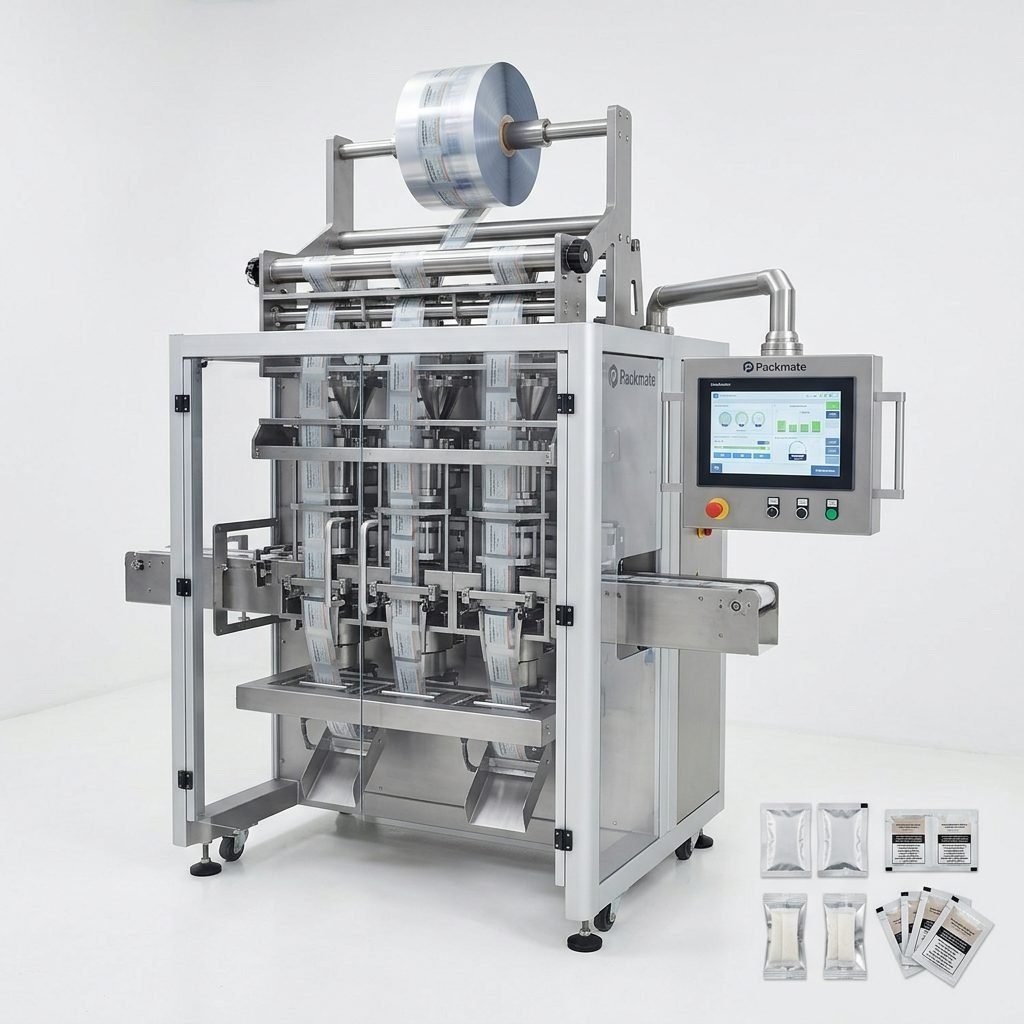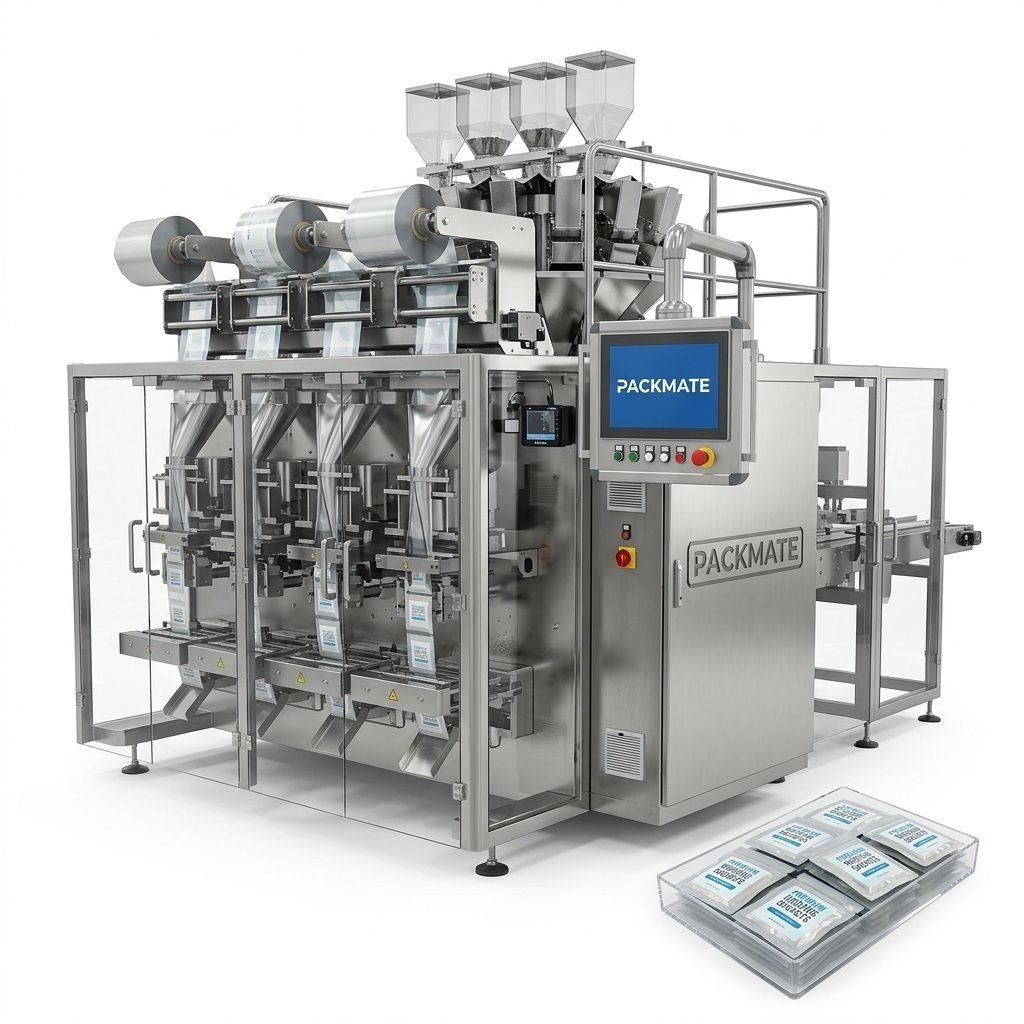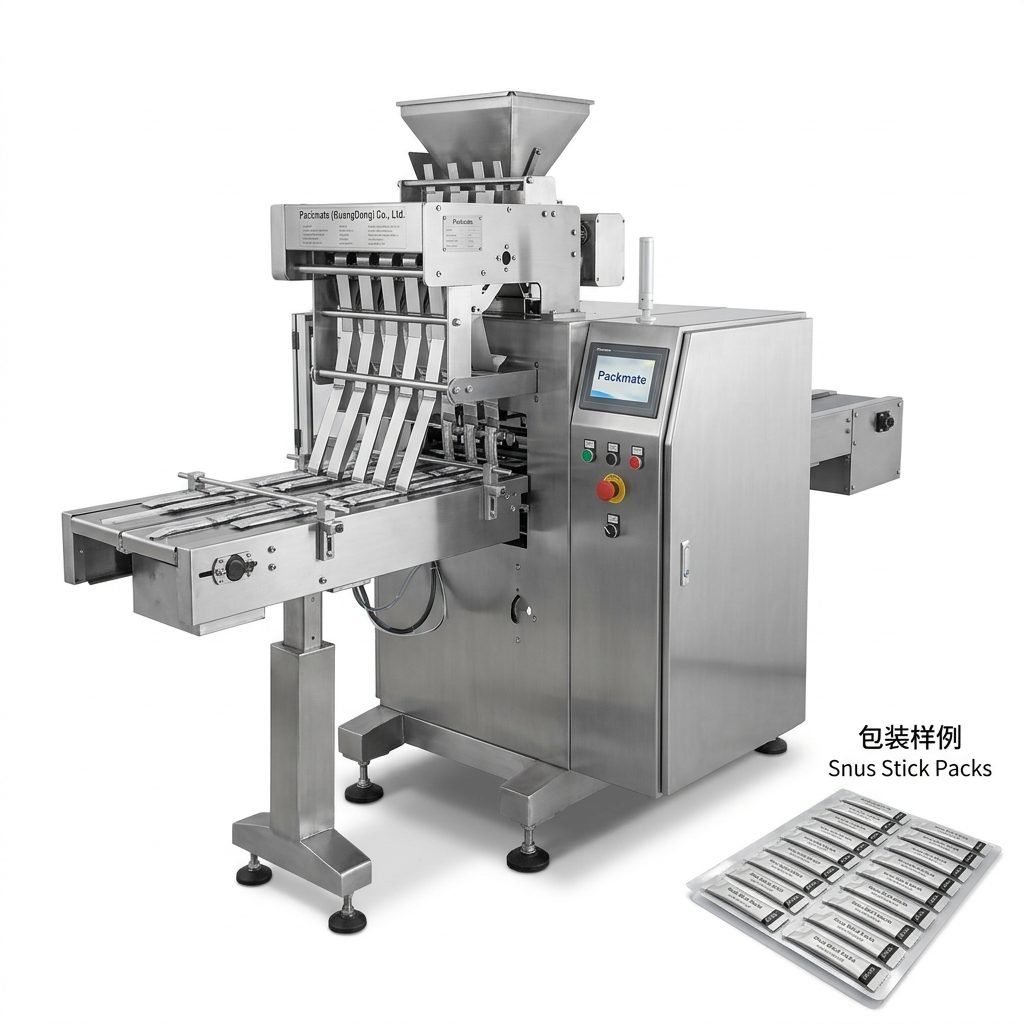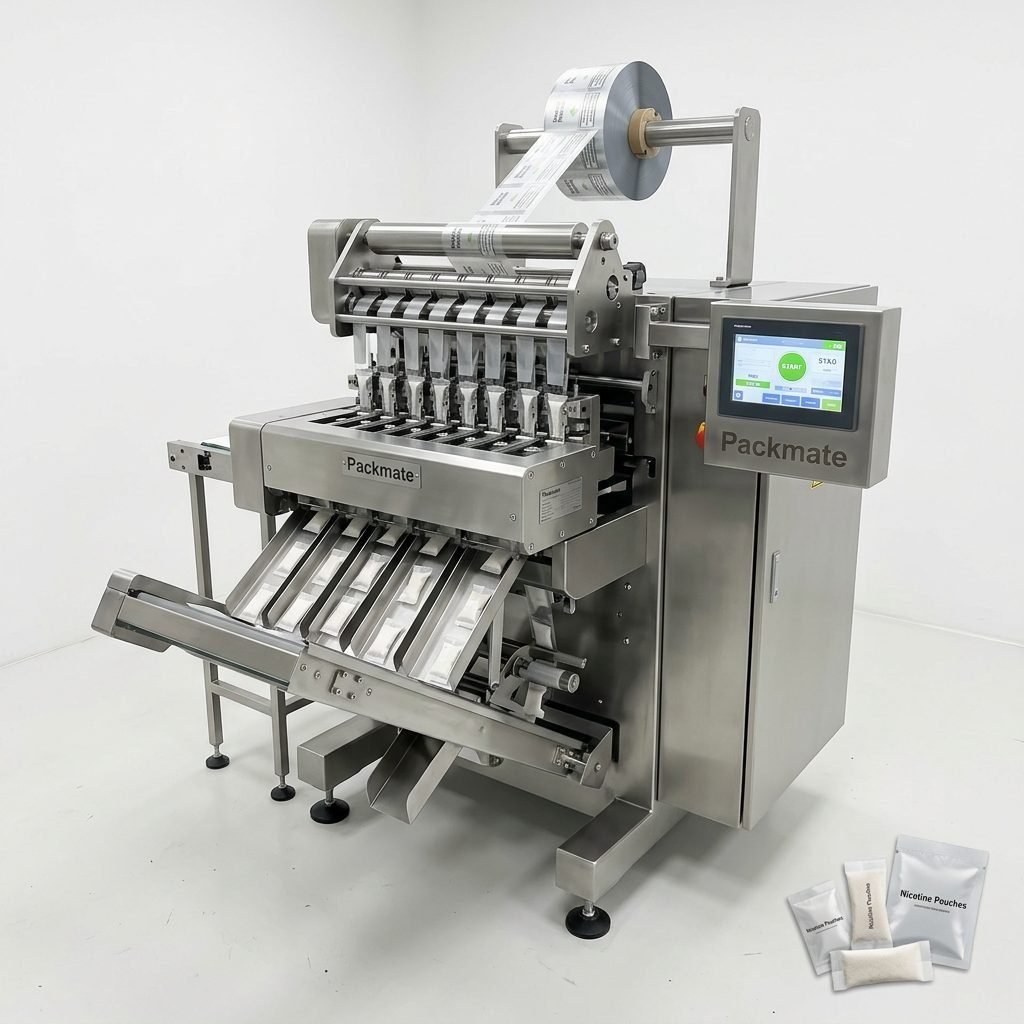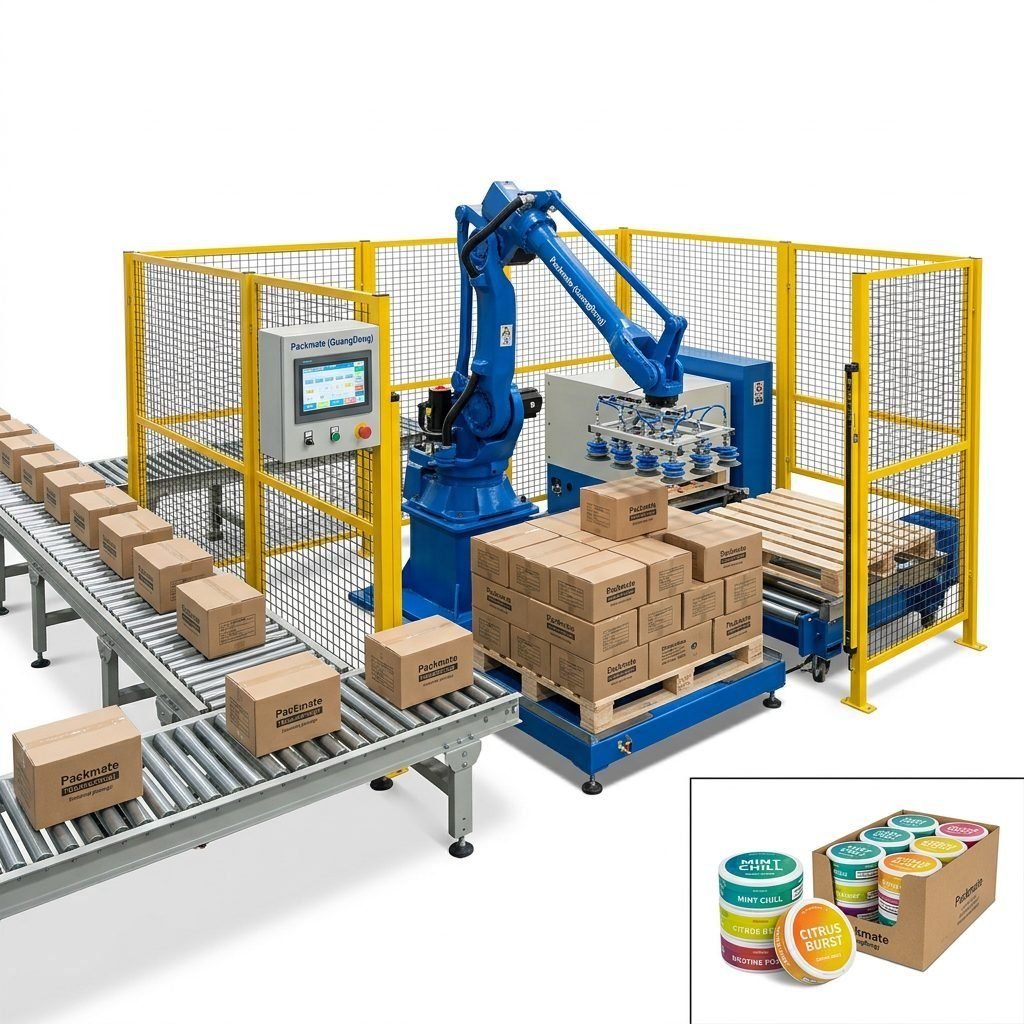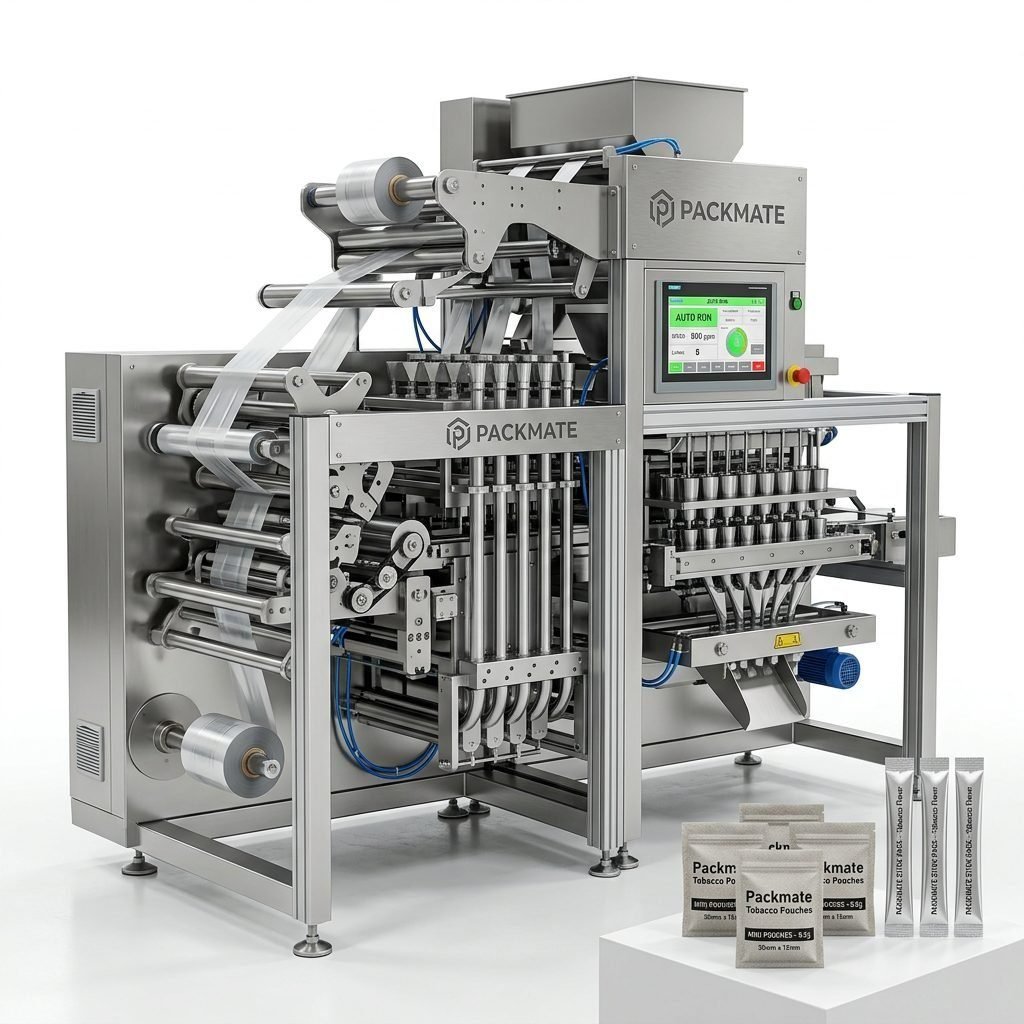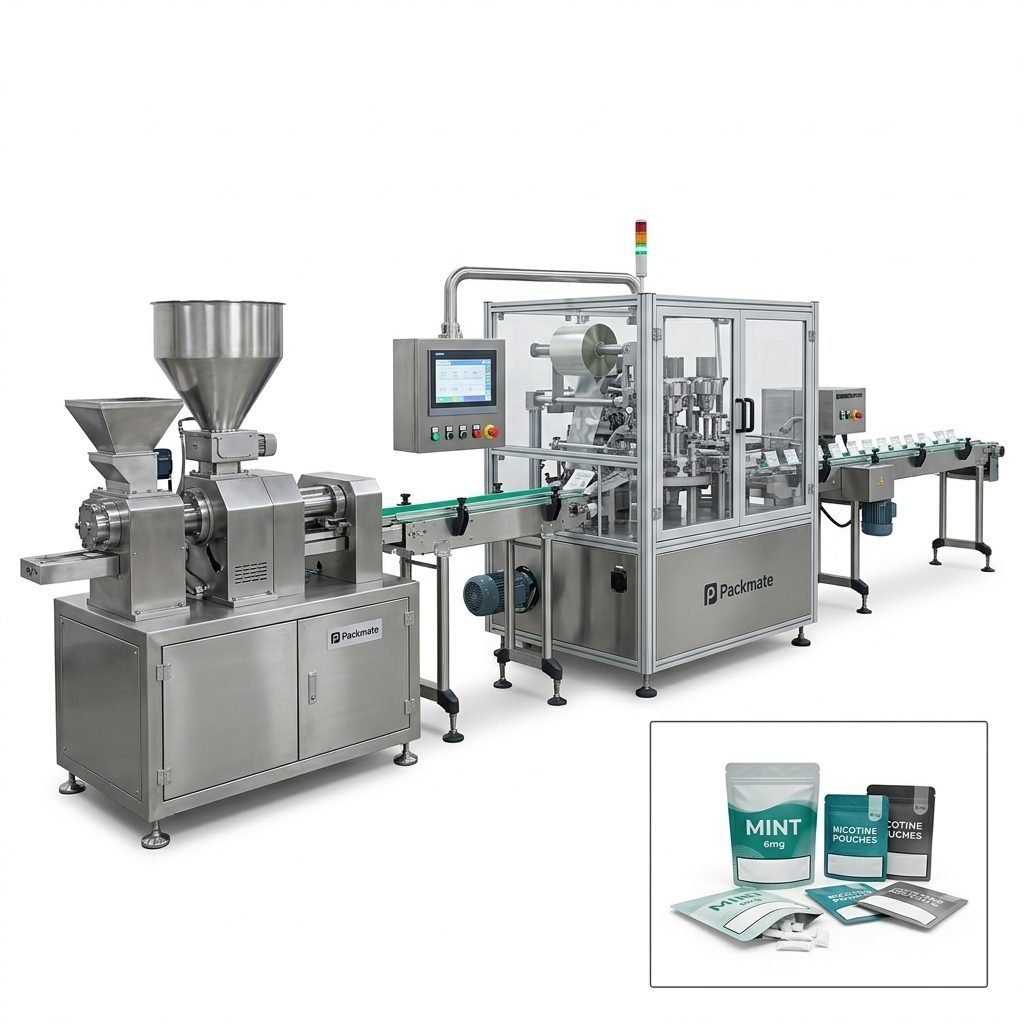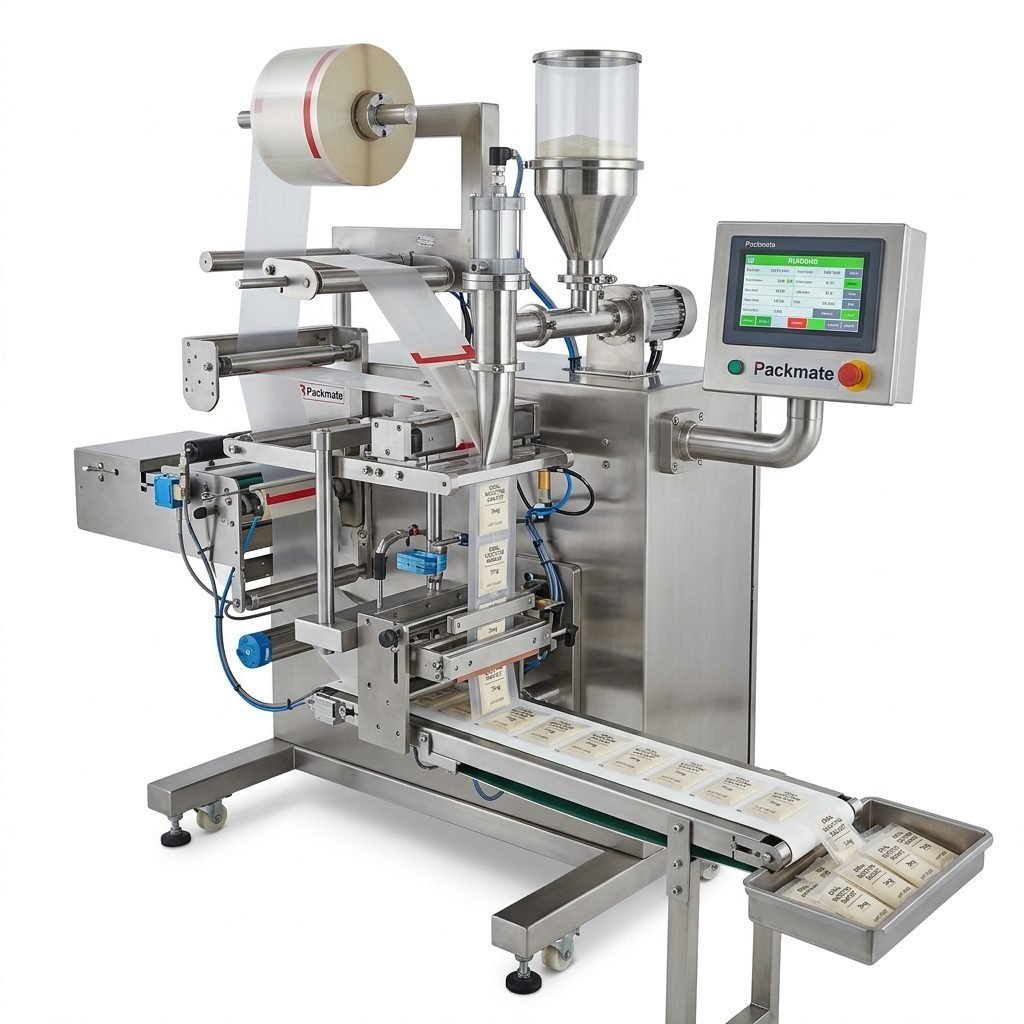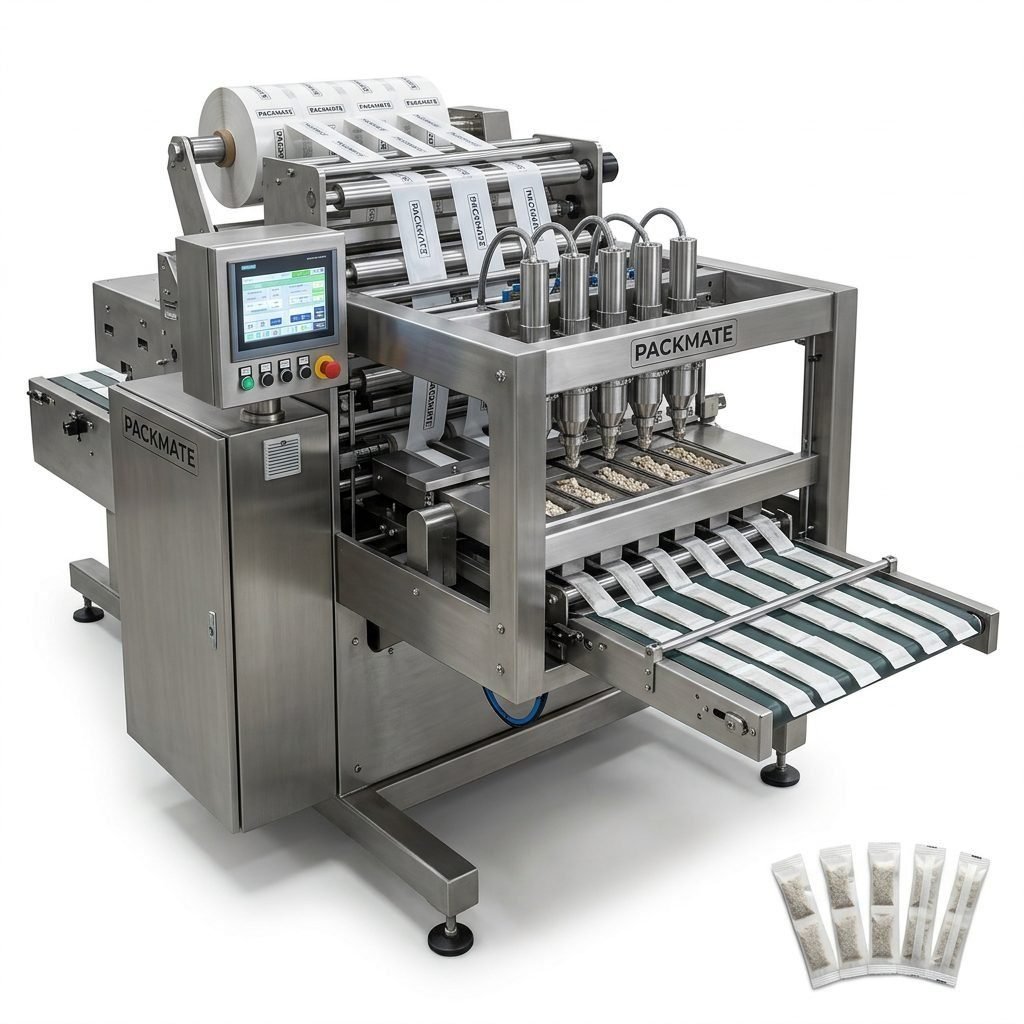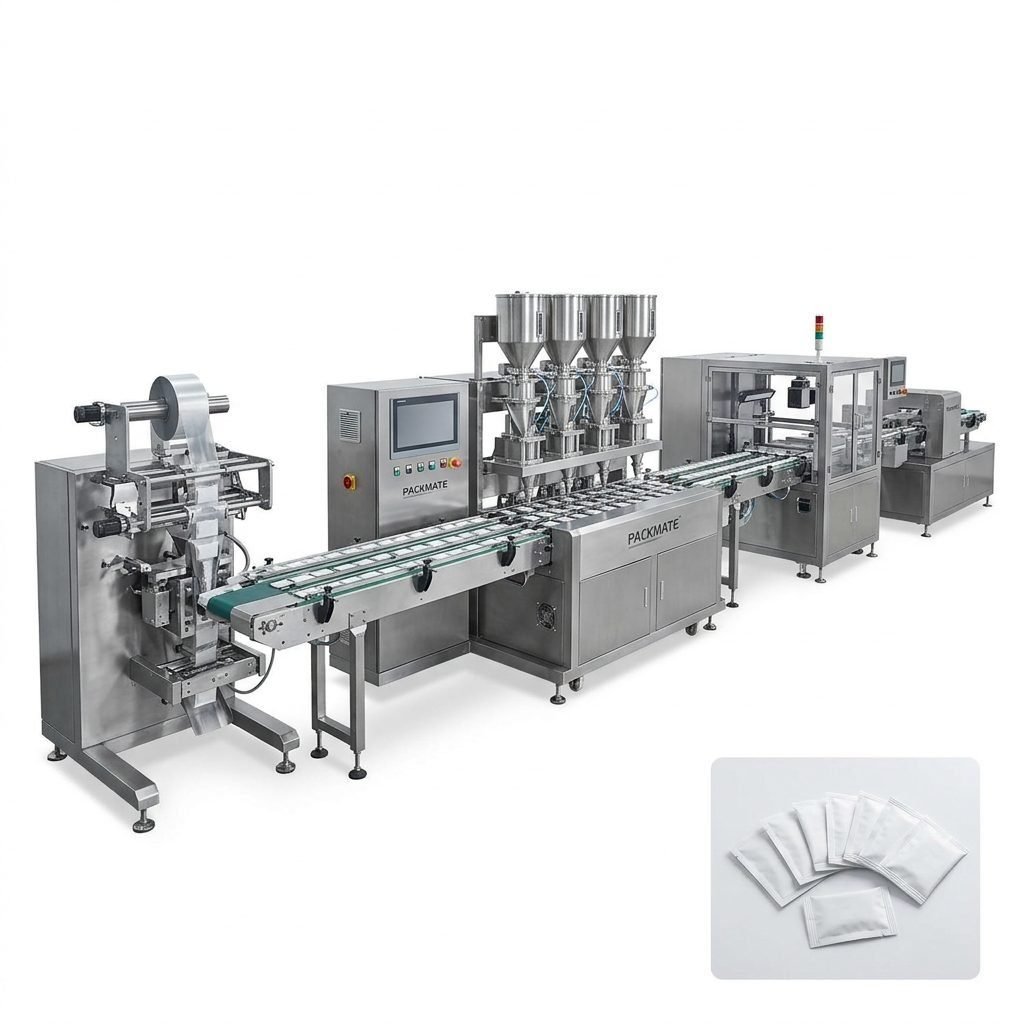
Nicotine pouch packaging lines are high-speed, precision systems that require regular attention to maintain uptime and product quality. This troubleshooting guide covers the most common faults encountered on nicotine pouch / snus machines, explains likely causes, and gives practical, easy-to-follow fixes that operators and maintenance teams can apply on-site. The recommendations are tailored for modern multi-lane pouch systems used in food, pharma and tobacco-adjacent industries and assume basic mechanical and electrical competency.
Quick machine overview
Modern nicotine pouch machines combine film unwind, forming, dosing, sealing and cutting subsystems, together with sensors, PLC control and servo drives. Typical issues arise in the film feeding path, sealing station, dosing/weighing modules and control/sensor areas. Preventive checks and correct root-cause diagnosis will save hours of downtime.
Where to find replacement parts and support
For compatible machine parts, documentation and service options, refer to the manufacturer’s product pages and service resources. Recommended links:
Snus & Nicotine Packaging Machines,
Bag & Pouch Packaging Machines,
Service,
and Case pages for real-world examples.
Common Problem 1 — Film feeding & alignment errors
Symptoms: film drifting, edge misalignment, repeated film tears or creases, inconsistent pouch width.
Likely causes:
🔧 Uneven unwind tension or worn dancer arm springs
🔧 Dirty or damaged film guides and rollers
🔧 Incorrect film core fit or loose brake system
Quick fixes: Check unwind tension and adjust dancer arm pre-load; clean guide rollers with isopropyl alcohol and inspect for scratches; verify core adapters and tighten the brake. If film edge sensors mis-read, gently clean sensor faces and confirm sensor alignment.
Common Problem 2 — Poor seals or seal failures
Symptoms: weak seals, open seams, adhesive transfer, burnt or wrinkled sealing areas.
Likely causes:
🔧 Wrong temperature profile or controller drift
🔧 Worn or contaminated sealing jaws / Teflon covers
🔧 Unequal pressure or mis-synchronized sealing timing
Practical steps: Use a calibrated contact thermometer or the machine’s thermocouple readout to confirm setpoint vs actual. Replace worn Teflon covers or sealing bars if torn or embedded with residue. Verify pneumatic pressure and check for leaks; adjust seal dwell time and knife timing so the sealing cycle completes before cut.
Common Problem 3 — Weight inconsistency or fill variation
Symptoms: underfilled/overfilled pouches, large standard deviation in weight, rejected pouches after weigh-check.
Likely causes:
🔧 Worn dosing pockets or auger feed variations
🔧 Inconsistent bulk density (material blend / humidity changes)
🔧 Faulty load cell or loose weighing module mount
Actionable fixes: Inspect the auger and dosing pockets for wear; calibrate volumetric feeds and weigh systems daily; condition the material (control humidity) and stabilize bulk flow. If a load cell shows drift, check mechanical mounts for looseness and recalibrate or replace the sensor.
Common Problem 4 — Pouch misregistration & cutting errors
Symptoms: pouch prints cut off, misaligned cut notches, noodle-shaped pouches or ragged edges.
Likely causes:
🔧 Encoder slip or photo-eye sensor contamination
🔧 Mechanical backlash in cutting carriage
🔧 Worn cutting blades or incorrect blade gap
How to fix: Clean registration sensors and ensure camera/photo-eye alignment. Inspect the encoder pulley and belt tension. Replace blades at recommended intervals and adjust blade gap to manufacturer specs. Tighten mechanical fasteners that allow carriage backlash.
Common Problem 5 — Electrical & communication faults
Symptoms: PLC faults, intermittent servo alarms, HMI freeze, fieldbus dropouts.
Likely causes:
🔧 Loose terminal blocks or poor ground connections
🔧 Voltage spikes or insufficient supply capacity
🔧 EMI from high-current drives near signal wiring
Routine checks: Visually inspect terminal blocks and connectors for looseness, corrosion or overheating. Confirm incoming supply voltages and verify DC bus stability. Separate power and signal cables, and use ferrite filters where high-frequency noise is suspected. Backup PLC programs and keep spare I/O modules on hand.
Common Problem 6 — Pneumatic issues and air leaks
Symptoms: reduced cylinder stroke, slow actuation, valve chattering, pressure drop.
Likely causes:
🔧 Leaking fittings, worn seals or damaged tubing
🔧 Contaminated air supply or clogged FRL (filter/regulator/lubricator)
🔧 Incorrect regulator settings after maintenance
Steps to resolve: Run a soap-water leak test or ultrasonic detector to find fittings that leak. Replace worn seals and tighten pneumatic connections. Maintain FRL elements and keep operating pressure within manufacturer recommendations.
Common Problem 7 — Overheating motors & drive faults
Symptoms: motor thermal trips, reduced torque, burning smell or abnormal vibration.
Likely causes:
🔧 Overloaded gearboxes or jammed mechanisms
🔧 Inadequate ventilation around drives or heat sinks clogged with dust
🔧 Incorrect drive parameter settings or failing bearings
Recovery checklist: Stop the line and inspect for mechanical jams. Allow motors to cool and check bearing play. Ensure adequate ventilation and clean heat sinks. Verify drive tuning and torque limits. Replace bearings or rewind motors if electrical faults are present.
Best practices to avoid recurring faults
Routine maintenance, correct operator setup and good process control significantly reduce failure rates. Key points include:
• Documented start-up and shutdown checks
• Daily cleaning of sensors, rollers and sealing faces
• Scheduled blade and seal replacement intervals
• Material handling control (humidity, particle size) and incoming QC
• Operator training on quick changeovers and lean troubleshooting
Pro tip: Keep a small spares kit (seals, blades, Teflon covers, fuses, common sensors) near the line for quick swaps. For full turnkey solutions, inspect system options across the Filling & Packaging Lines and auxiliary modules.
When to call service or escalate
Escalate to factory service if:
⚠️ The PLC or servo drives report internal faults that persist after power cycling
⚠️ Mechanical damage to frame, gearbox or camshafts is suspected
⚠️ Repeated, unexplained process variation after all basic checks
Before booking service, gather serial numbers, current firmware/PLC versions and a short video of the fault. This helps remote diagnostics and shortens on-site repair time. Packmate’s about page and contact lines are useful resources:
About Packmate and
Contact Us.
Checklist: Daily operator walk-round (quick 10-point)
1. Check film unwind and dancer movement for smooth operation.
2. Confirm sealing temperature and visually inspect seal lines.
3. Inspect dosing hopper and auger for bridging.
4. Clean registration sensors and camera lenses.
5. Verify pneumatic pressure and listen for air leaks.
6. Confirm weight checks on sample pouches and log results.
7. Check HMI alarms and clear transient messages properly.
8. Look for unusual vibration or smells near gearboxes and motors.
9. Ensure emergency stops and safety guards operate correctly.
10. Record runtime and any adjustments in the shift log.
Note: A consistent log and small daily interventions prevent the majority of unplanned stops. For multi-lane high-speed systems, small misalignments grow fast — catch them early.
Useful documentation to keep on-hand
– Wiring diagram and PLC backup file.
– Mechanical assembly drawings for feed, seal and knife stations.
– Spare part numbers for consumables (seals, blades, Teflon covers, sensors).
– Recommended PM schedule from OEM and past maintenance logs.
Final practical reminders
Small, repeatable checks reduce downtime more than waiting for a fault. Train operators to identify trends (heat-up times, weight drift, film tension changes) and to escalate when parameters deviate beyond set thresholds. When in doubt, consult the OEM documentation or contact the manufacturer’s service team for guidance.
Need tailored advice? Consider a line audit and preventive maintenance plan. OEMs often offer remote support and site training — explore the manufacturer’s product lines and support services to match your production needs.
Common Questions
Q1: How often should sealing jaws and Teflon covers be replaced?
A1: Replacement intervals depend on runtime and product abrasiveness. Inspect weekly for residue and damage; plan preventative replacement every 2–6 months under continuous production. Replace sooner when torn or when seal quality degrades.
Q2: My weigh-checkers drift during a shift — what quick checks help?
A2: Verify that the weigh hopper mounting is secure, confirm no drafts near weigh modules, and perform a zero/span calibration mid-shift if allowed. Check for mechanical binding and material bridging in the feeder.
Q3: Can a single operator handle minor mechanical adjustments safely?
A3: Yes, after appropriate training. Operators should follow lockout-tagout (LOTO) procedures, use basic tools for tension and sensor alignment, and log changes. Complex mechanical tasks should be handled by trained maintenance staff.
Q4: How do environmental factors affect pouch quality?
A4: Humidity and temperature influence powder flow, film behavior and sealing performance. Control the packaging room climate where possible and condition hygroscopic blends before feeding to prevent clumping or weight drift.
Q5: Where can I find OEM manuals and certified spare parts?
A5: OEM product pages, catalogues and service portals list recommended spare parts and manuals. For Packmate product lines, consult the product pages and service/contact sections provided above for certified parts and support.