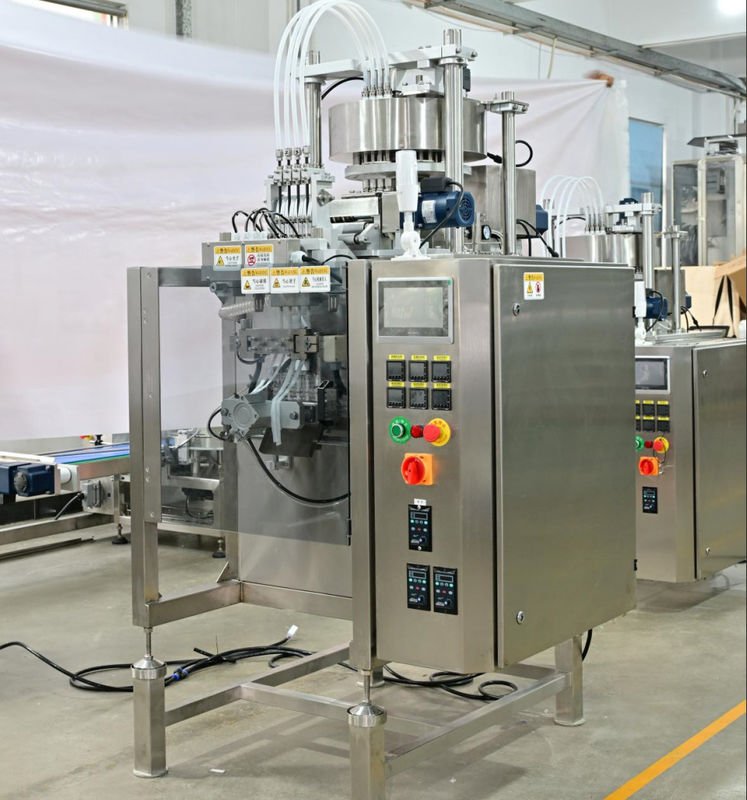
Installing a snus (nicotine pouch) packing machine is a critical process that determines long-term production stability, product quality, and operator safety. This guide walks you through a professional, practical, step‑by‑step installation, mechanical adjustment and maintenance routine tailored for high-performance lines such as multi‑lane snus packaging systems. Follow these procedures to achieve consistent dosing, reliable sealing and efficient throughput from day one.
Overview: What to prepare before installation
🔧 Site requirements: ensure a flat foundation, adequate space for loading/unloading, and a power distribution that matches the machine nameplate. Typical factory practices call for a concrete floor with level tolerance ≤ 3 mm over 2 m and a clean, dry environment.
Key checks before unpacking
✅ Confirm shipping list and accessory kit. Check for electric cabinets, servo units, spare tooling and documentation. Keep the generator/UPS on standby if power quality is unstable. If you ordered a turnkey line, coordinate delivery times with upstream/downstream equipment to avoid delays.
Electrical & utility connections
⚡ Verify voltage, phase and frequency match the machine spec. Use dedicated circuit breakers and reliable earthing. For pneumatic systems, install a regulated air source (dry, oil‑free) with a minimum suggested pressure and flow indicated in the machine manual. For wet environments, consider IP rated cabling and local grounding best practices.
Step‑by‑Step Installation Procedure
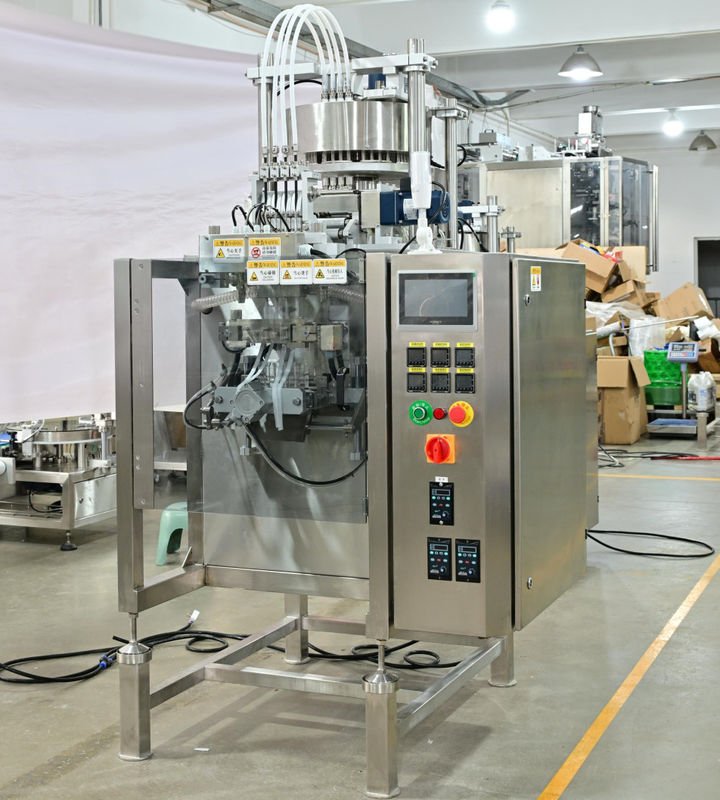
1. Positioning and leveling
1) Unpack and move the machine with approved lifting tools. 2) Place the machine on the final footprint and engage the leveling feet. 3) Use a precision level and shims where necessary to achieve machine-level tolerance. Proper leveling reduces vibration and ensures accurate web tracking and sealing.
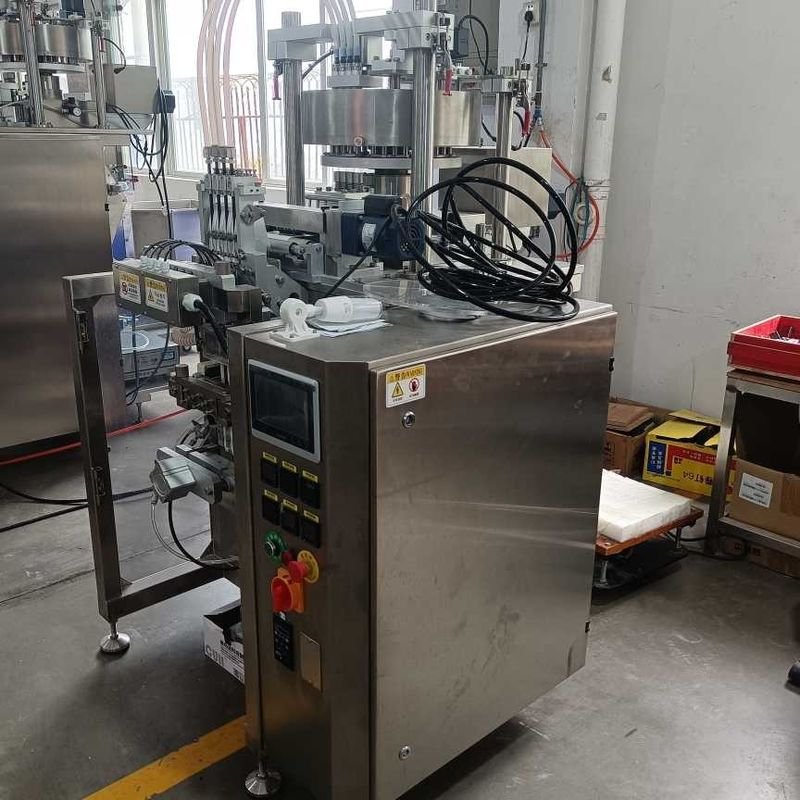
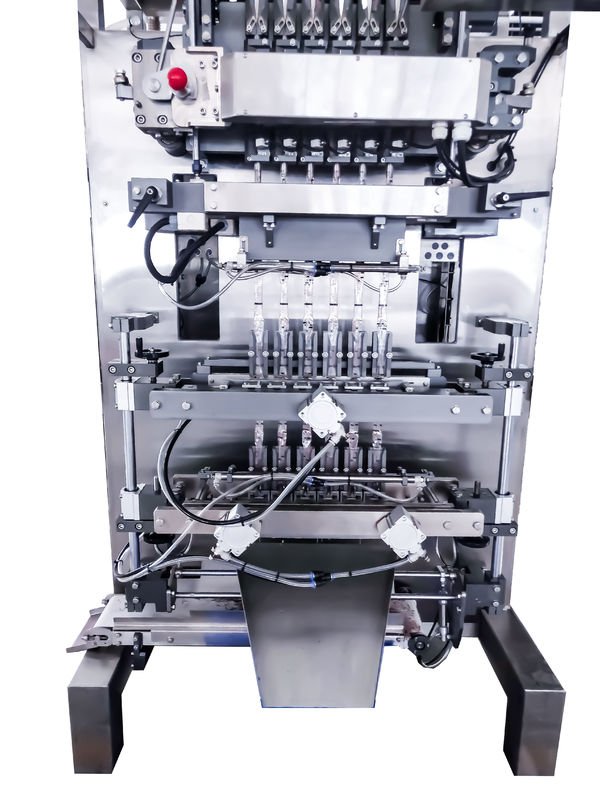
2. Mechanical alignment and conveyor integration
Align infeed and discharge conveyors to ensure smooth product transfer. Conveyor heights should be matched to avoid product tilt or jamming. Check that guide rails are adjustable and lock securely. Misalignment is the most common cause of product drift and sealing defects.
3. Electrical wiring and control connections
Connect mains power to the control cabinet following local wiring codes. Route sensor and actuator cables separate from high‑power lines to avoid interference. Label each cable and keep a connection log. Before powering on, verify all safety interlocks and emergency stops are wired and tested.
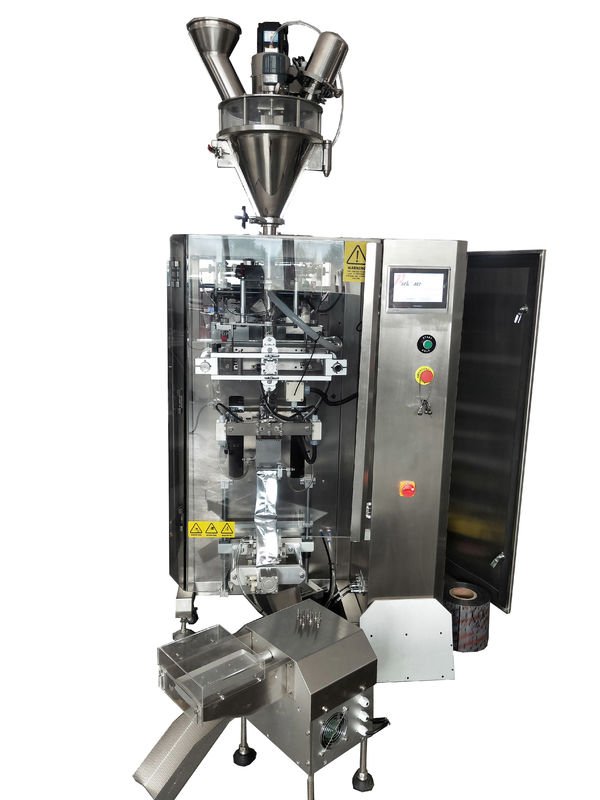
4. Pneumatic and vacuum lines
Hook up compressed air with correct filtration. Check vacuum pumps for correct rotation and mounting. Use quick‑disconnects where frequent maintenance is expected. Test for leaks and stabilize air pressure while monitoring gauge response on actuators.
Commissioning: First power‑on and test run
⚠️ Safety first: keep guards open only during setup with the machine isolated from line power where required by local regulations.
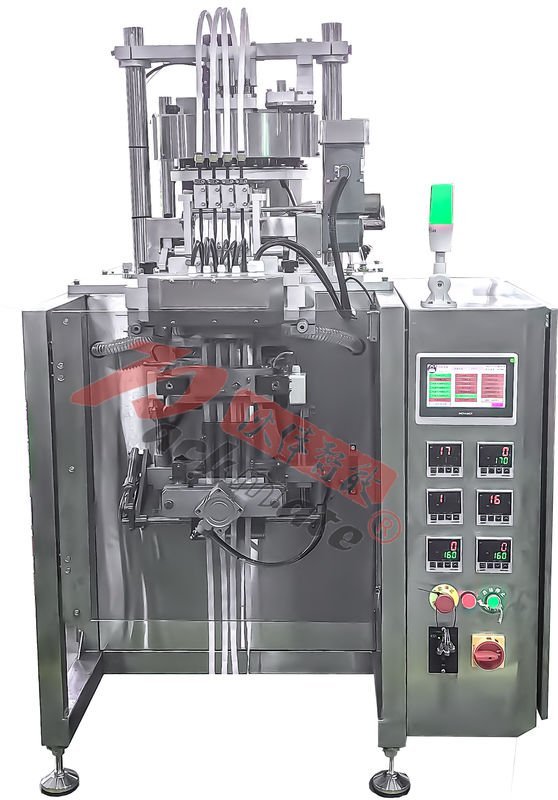
Initial control checks
Power up the control cabinet and monitor for fault codes. Check servo homing routines and jog each axis manually. Confirm encoder and sensor feedback for correct direction and travel limits.
Trial dosing and sealing
Run a dry cycle (no product) to verify pouch forming, dosing timing and sealing bars. Then run small batch trials with actual product or a suitable test material. Adjust fill weight via the dosing system and verify weight distribution across lanes.
Adjustment Tips: achieving optimal product quality
🔎 Focus on web tension, registration, and sealing temperature. A consistent web tension prevents wrinkles and keeps print registration accurate. Sealing should be validated with destructive tests for seam integrity at production speed.
Web tracking and registration
Use the machine’s register control to lock print position. Small adjustments to dancer arms and servo parameters often correct lateral drift. Document final setting values for each product recipe.
Sealing parameters & tooling
Gradually increase sealing temperature and dwell time while checking seam appearance. Replace or refurbish cutting and sealing jaws at first sign of burr or wear. Keep spare sealing tooling on hand to minimize downtime.
Routine Maintenance Schedule
🛠️ Daily: clean product contact surfaces, check sensors and remove debris from film paths. Weekly and monthly checks are essential to protect component life.
Weekly maintenance
Inspect belts, chain tension, and pneumatic fittings. Lubricate linear guides and pivot points per the manual. Confirm vacuum cups (if used) are free of cracks and seal correctly.
Monthly and quarterly checks
Review servo parameters and backlash. Perform a full electrical inspection and tighten loose terminals. Check bearing temperatures and look for early signs of wear on gearboxes and couplings.
Spare parts, consumables & support
Keep a kit of critical spares: sealing jaws, cutting blades, sensors, belts, spare fuses and a set of bearings. For complete packaging line solutions and part sourcing, refer to Packmate product pages such as Snus & Nicotine Packaging Machines and Filling & Packaging Lines.
Common commissioning checklist (printable)
✅ Leveling completed and documented
✅ Electrical earth and phase verification
✅ Pneumatic supply clean and regulated
✅ Safety guards, E‑stops and interlocks tested
✅ Trial runs and sample verification accepted
Troubleshooting quick guide
⚠️ If you see inconsistent weight across lanes, check dosing valve timing and upstream product feed for bridging. If seals show wrinkling, reduce web tension and verify sealing jaw flatness. Motor faults often relate to encoder misalignment or loose power terminals — always isolate power before inspection.
Training and documentation
Proper operator training reduces mistakes and machine damage. Keep operation manuals accessible and document every recipe change. For comprehensive service support and spare parts, visit Service and if you require company background or certifications, see About Packmate and Certificate.
Operator best practices
Encourage shift logs, immediate reporting of anomalies and routine calibration of weighing systems. Small daily checks prevent major failures and lost production time.
Sustainability & compliance considerations
Packmate machines are built to international standards like CE and ISO. Ensure your production adheres to local regulations for nicotine product handling, disposal of waste film and energy efficiency measures for long‑term cost savings.
Final commissioning handover
During handover, capture machine settings, recipe files, and a list of installed spare parts. Conduct a joint acceptance test with production supervisors and archive a signed acceptance report. If you need real case references or exhibition demos to validate machine performance, review the Packmate Case and Our Exhibition pages.
Summary: key actions to ensure long life and stable production
🔑 Document, verify, and train. Level the machine, confirm utilities, perform controlled test runs, and implement a disciplined maintenance routine to keep your snus packaging line running reliably.
Frequently Asked Questions
Q1: How long does installation usually take?
A1: Typical single machines take 1–3 days for positioning, electrical/pneumatic hookup and initial commissioning. Multi‑lane turnkey lines often require 1–3 weeks depending on complexity and integration with upstream/downstream equipment.
Q2: What spare parts should I keep on hand?
A2: Keep sealing jaws, blades, sensors, belts, fuses and common bearings. Also maintain a small stock of pneumatic seals and vacuum cups to avoid production interruptions.
Q3: Do you offer on‑site commissioning support?
A3: Yes. Packmate provides global commissioning, training and long‑term service plans. Contact the local representative through the Contact Us page for scheduling and logistics.
Q4: How often should sealing jaws be serviced?
A4: Inspect sealing jaws daily for cleanliness and visible wear. Replace or recondition tooling at the first sign of uneven cutting or seal degradation — typically every few months depending on production volumes and materials.
Q5: Where can I find documentation and parts catalogs?
A5: Visit the Packmate catalog and FAQ pages for manuals and spare parts lists at the Catalog and FAQs pages online, or reach out via the Contact Us form to request digital copies.